Docker volume backup is more complicated than it should be
17 Nov 2023
When I set up my first Docker container (I think for Uptime Kuma ), I had read around and understood there were two choices for persistent; bind mounts (where the data inside the container is effectively a symlink to a location on the local file system) or name volumes where Docker abstracted that away a bit, so you didn’t have to worry where it was - I sort of understood Docker ‘managed’ it.
I’ve been lazily doing my ‘backups’ by just saving snapshots of entire VM’s - which works really well, Proxmox handles the scheduling of them, I regularly test them (every month I run off the backup production server for a couple of days from the backups). I don’t mind that backing up up an entire VM for a couple of Dockerised apps is expensive in disk because local disk is cheap and it’s super convenient.
However, I’ve got a couple of projects on the list where I’d like to move a container and it’s data between VM’s. One is trying out Jellyfin in Docker in an LXC, and another is moving the containers on my general utility dockerhost to a new VM with a bit larger disk since that seems easier than expanding the disk.
I assumed I’d be stoping the container and doing something like docker export portainer_data somebackupfile.name then moving that file over to the new system and running docker import portainer_data somebackupfile.name to re-create it.
But no, that’s not how it works. According to the Docker people, I need to:
- Use inspect to find out the internal data directories of the container
- Stop the container
- Create a new generic linux container
- Have it mount the docker volumes
- Also have it bind mount to the current directory
- Run a command inside the container to tar ball the internal data directory and save it to the bind mount
The only real concession to usability along the way is that there’s a --volumes_from flag that saves you from extracting all the volume names from a docker inspect of the container whose data you want to back up.
Example
Let’s run through those steps with an example. I’m going to set up Uptime Kuma in Docker. I’ll use the suggested compose file which creates a named volume uptime-kuma. I tested that’s up and running on port 3001 - when I visited there, it wanted me to create an admin account.
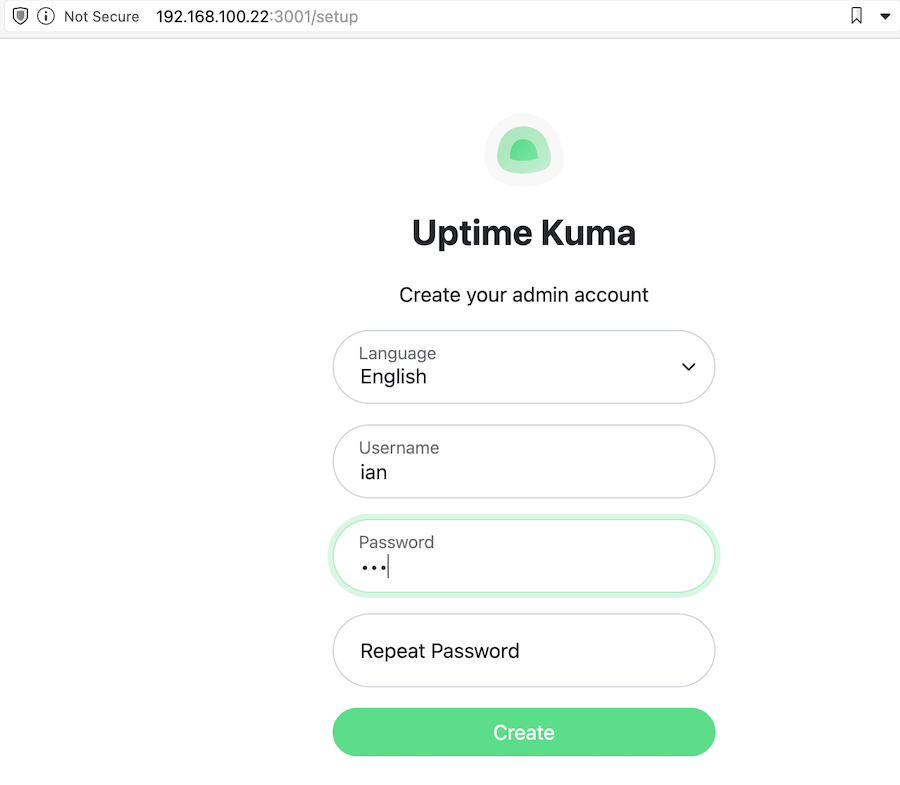
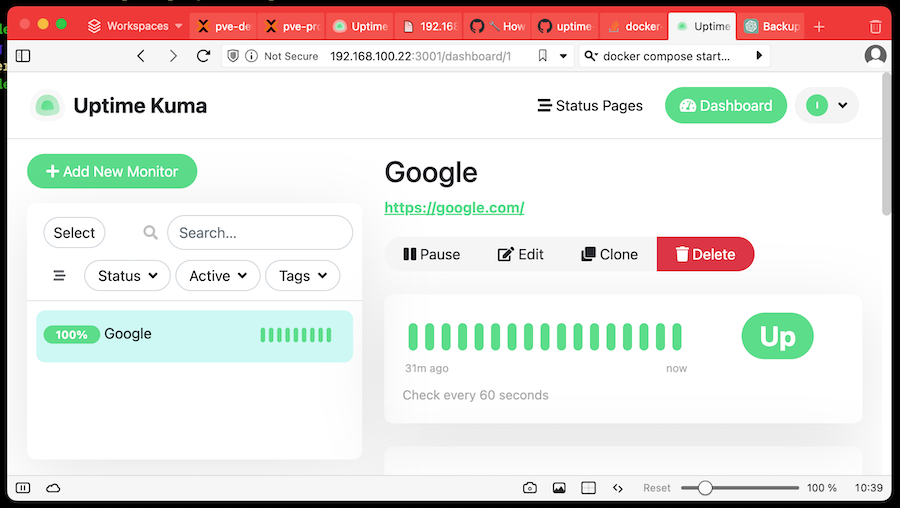
For demo purposes, I created the admin user ian and set up Uptime Kuma to monitor Google for us.
If you started the app from a docker compose file, you can just look in there to see what the internal data directories that are being mounted to are:
version: '3.8'

services:
  uptime-kuma:
    image: louislam/uptime-kuma:1
    container_name: uptime-kuma
    volumes:
      - uptime-kuma:/app/data
    ports:
      - "3001:3001"  # <Host Port>:<Container Port>
    restart: always

volumes:
  uptime-kuma:
or alternatively use the docker inspect <container name> command. You’ll get back a barrage of Json - somewhere in there will be the mount details:
"Mounts": [
    {
        "Type": "volume",
        "Name": "uptimekuma_uptime-kuma",
        "Source": "/var/lib/docker/volumes/uptimekuma_uptime-kuma/_data",
        "Destination": "/app/data",
        "Driver": "local",
        "Mode": "z",
        "RW": true,
        "Propagation": ""
    }
],
Either way, we now know that the internal directory for data is /app/data.
Next stop the container with docker stop uptime-kuma, then type in this bad boy based on the one in the docs.
sudo docker run --rm --volumes-from uptime-kuma -v $(pwd):/backup ubuntu tar cvf /backup/backup.tar /app/data
The highlighted bits are the pieces I changed for our demo - the name of our container and the internal data directory for it that we found in the steps above. Pulling down an entire Ubuntu container seemed overkill - we’re just running a tar command so perhaps Alpine or Busybox would be fine, however, it pulled down quite quickly so it’s either smaller that I imagined or I already had the main layers locally.
Now if we look in the directory where we ran that command, there should be a backup.tar file.
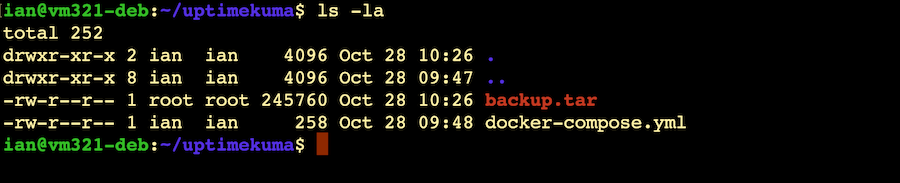
Now, for the purposes of this demo, I’ll copy the backup.tar (and my compose file) over to another VM and we’ll see if we can recreate this install.
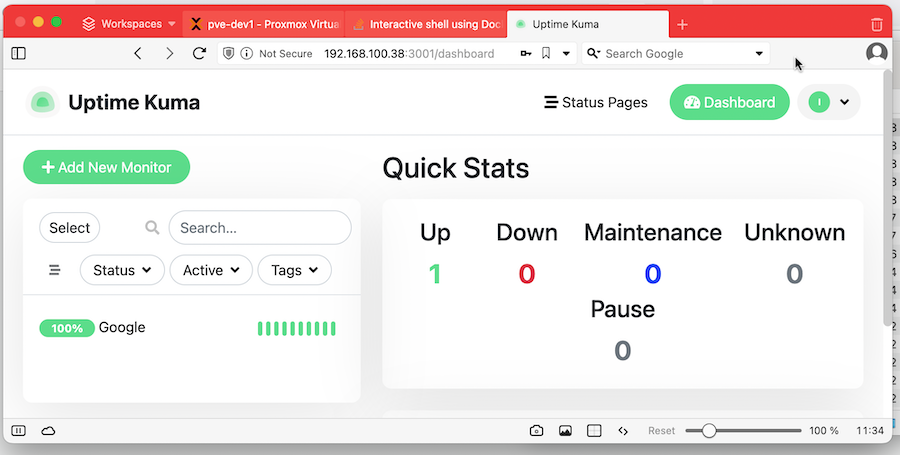
Once I’d copied them over and installed Docker , I ran docker compose up to start a new, empty Uptime Kuma. As expected, when I tried to visit the main page, it wanted me to create an admin user. Then I stopped the container. Note that you don’t want to docker compose down to stop the container since that also removed it. If it’s removed, the next command won’t be able to find the name volumes it uses.
Now we need copy the backed up data (which is just sitting in the current directory) into the named volume. Once again, this will be achieved by creating a new container, mounting the named volume and and current external working directory.
sudo docker run --rm --volumes-from uptime-kuma -v $(pwd):/backup ubuntu bash -c "cd /app && tar xvf /backup/backup.tar --strip 1"
Once again, I’ve highlighted the bits I’ve changed from the instructions . It’s important to note I’ve changed the destination directory. We backed up from /app/data but we’re just restoring to /app - the un-taring will copy the backed up data into the existing data directory. That’s a trick for young players - when I blindly followed the official instructions, I ended up with an /app/data/data directory with the backed info which was, or course, ignored, and only discoverable buy exec-ing into the container to see what was happening.
Why not just copy the local file system version?
The named docker volume is just stored on our local file system, usually at /var/lib/docker/volumes so it would be reasonable to wonder why we don’t just copy that. I don’t have a great explanation for why not. I assume since the official docs suggest something different and more complex that there must be a reason. Possibly there’s some extra Docker magic (file locks, caching, etc) going on we don’t know about, or there’s some planned for the future.