First Ansible Playbook
26 July 2023
In the previous post , we looked at getting up and running with Ansible, including using the ad-hoc mode to send commands to our servers. We had a inventory file called hosts that had groups of server IP addresses and a simple ansible.cfg file that pointed to our inventory file.
Playbooks
Ansible playbooks are used to collect together a description of the state we want in a server. When the playbook is executed, Ansible figures out what things need need changed, and changes them. If you’re used to the procedural nature of a bash script, where things proceed from one step to the next, and there might be decision branches, this requires an adjustment in your thinking. This is similar to the adjustment I had getting my head around SwiftUI , and moving from JS to React .
Before we dive in and look at a playbook, I should probably say a couple of things about the YAML format used for these files. It’s yet another attempt to strike a compromise between human readable and machine processable files. Spacing is important, it doesn’t like tabs, it’s case sensitive, and begins with three hyphens. The rest, you’ll figure out.
Here’s the files we currently have in our working directory:
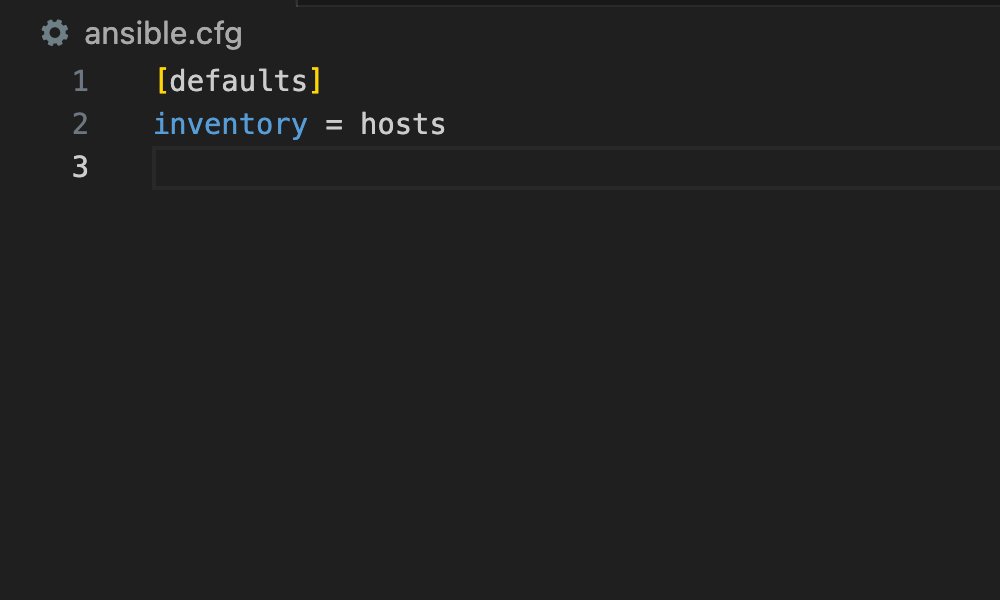
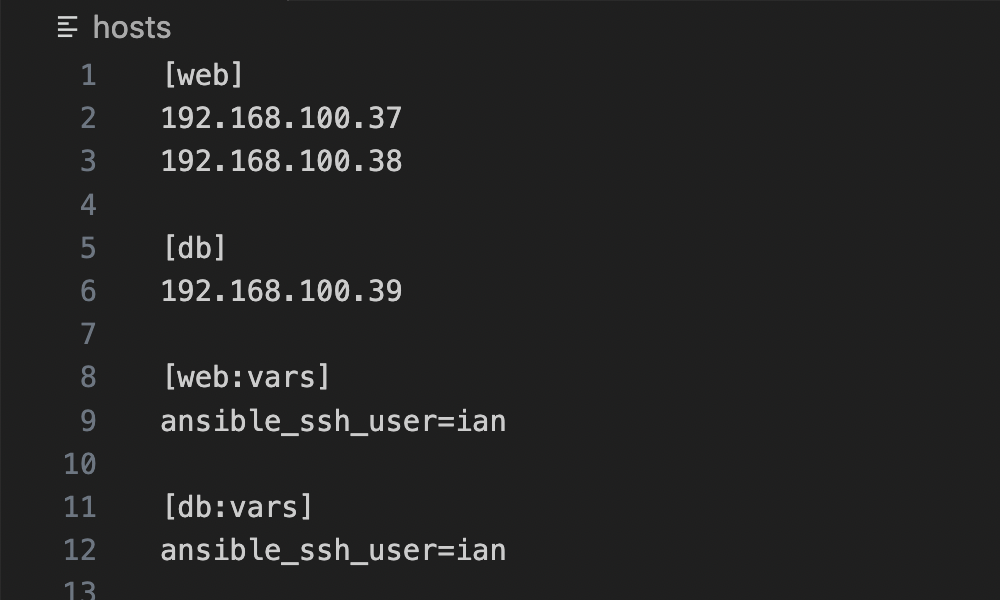
The config file just specifies our inventory file, and the inventory file (named hosts) lists the servers in groups, and provides some variables for the servers.
Our web servers are going to need something to serve web pages. Let’s write a playbook to ensure they have NGINX installed. If you don’t know what NGINX is, don’t worry about it, it’s a web server.
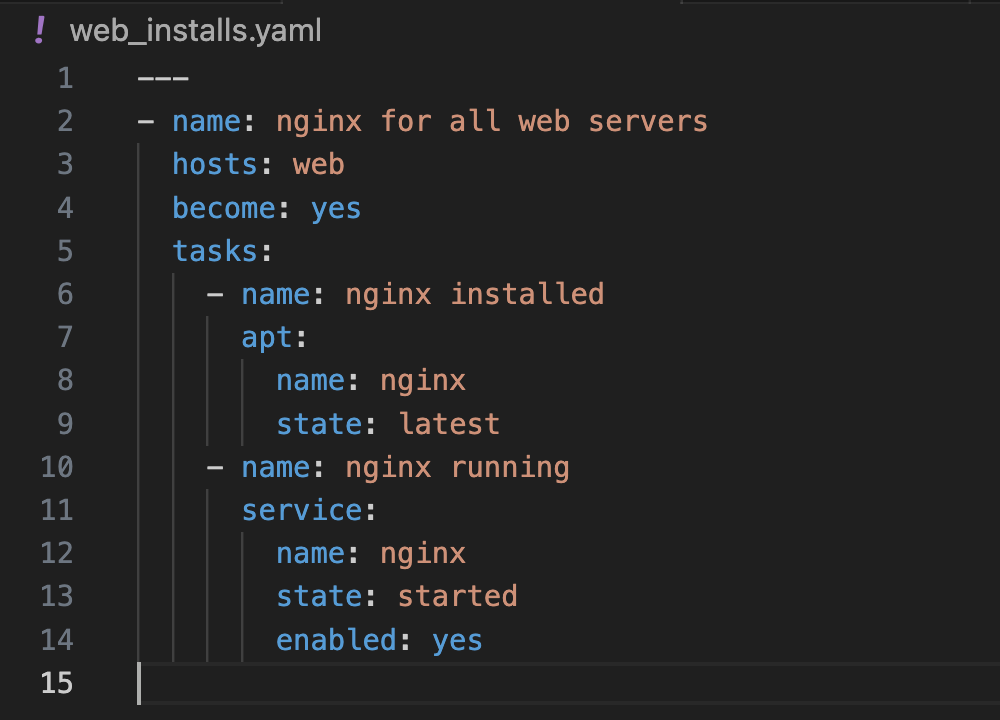
- name: - YAML files are hierarchical. Ansible YAML files are a collection of plays. This file only has one play, named “nginx for all web servers”. All the plays will be at the top level like this starting with a single hyphen in column 1. Names are great; pick good ones and you won’t need much in the way of comments. These names also appear in the output, helping anyone using the playbook to understand what’s happening.
hosts: web - tells Ansible that we are only running this play against our web servers. These are defined in the hosts file that we kept from the last post. If you look back up at the top for that file, you can see we’re specifying it for 192.168.100.37 and 192.168.100.38
become: yes - To install packages with apt, we need to sudo. become yes is telling Ansible that we need to do this. I guess if we were already the root user we wouldn’t have to do that, but in our hosts file, we’ve said to use the user ian so ssh in. We’ll see later how to deal with needing the password for this escalation.
tasks: - In our hierarchy, each play consists of a number of tasks. Here’s our list of tasks. Because we’re changing levels, they’ll be indented.
- name: - This time, it’s the name of the task. Again, pick good ones.
apt: Ansible functionality is organised according to modules. Here we are saying we are going to use the apt module . apt is the command to install packages on Debian flavoured systems
name : nginx - This time, it’s the name of the package we want installed. It’s the same name as you would have used if using apt manually.
state: latest - we’re saying we want the nginx package to be installed, and we want it to be the latest one. This is were you should really be noticing the declarative nature of the playbook. We could also say state: absent and Ansible would uninstall it if it was installed, or state: present in which case Ansible would just check it’s there but not worry about the version.
- name: - Okay, we’re back up at the lists of tasks level. Here’s the name of a new task.
service: In the previous task we were using the apt module. This task is going to use the service module . If you’re wondering how you get to know what things are in each module, the documentation at Ansible is pretty great. Sometimes you’ll get pretty close by thinking of what you’re doing. In this case, we want to check if the NGINX service is running, and if not start it - so it’s logical that the module we want is going to be service.
name : nginx - This time, it’s the name of the service.
state: started - declaratively saying what we want the state of the NGINX service to be.
enabled: yes - it will also be started on a reboot.
Phew. Okay. We want NGINX to be installed on these machines, and for the service to be running and for that to still be the case after a reboot. Let’s run this playbook and see what happens. Here’s the command we’re going to do that with.
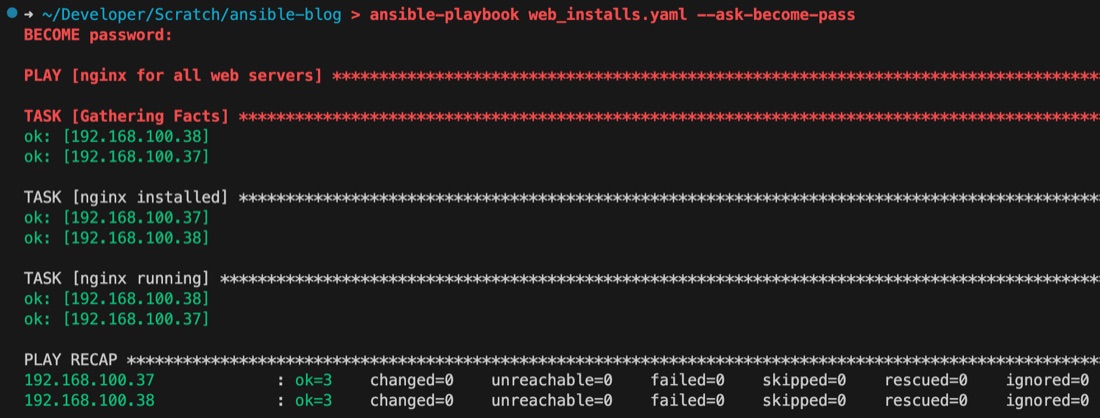
ansible-playbook web_installs.yaml --ask-become-pass
The --ask-become-pass piece of this command is telling Ansible to ask us for the password for this user so it can have sudo privileges to install things. We could have just added the password in the hosts file like we have the user name, but that would be quite insecure. Especially when we push our code up to github. Scanning pubic github commits for passwords and API keys is a popular pastime.
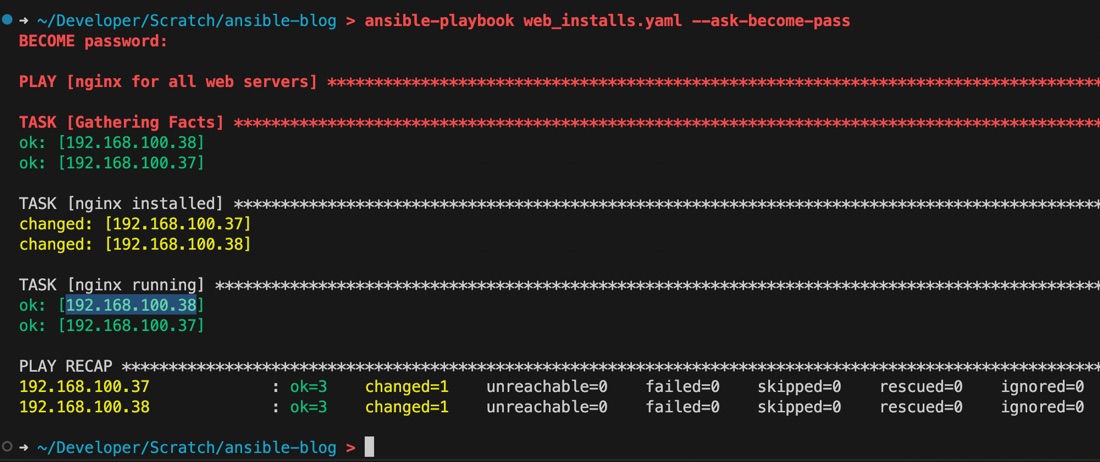
After asking me for the password, Ansible has correctly identified the two servers and gathered facts from them. The facts are a lot of information that’s then stored in variables that we can then use in our playbooks. For example this playbook is assuming a Linux distro that uses the apt package manager. If we wanted to check for that, one of the facts variables would contain the distro name and we could use that to conditionally use apt or some other package manager.
You’ve probably noticed the colours. Green messages mean something’s in the correct state, yellow means it wasn’t in the correct state before, but is now, and red means it’s not in the correct state, and couldn’t be made to be for some reason.
Since this is the first time this playbook’s been run against these servers, we expected the ’nginx installed’ tasks to be yellow for both servers. The highlighted IP address under ’nginx running’ is just because I was copying it to go and check the web server was working. Let’s have a look.
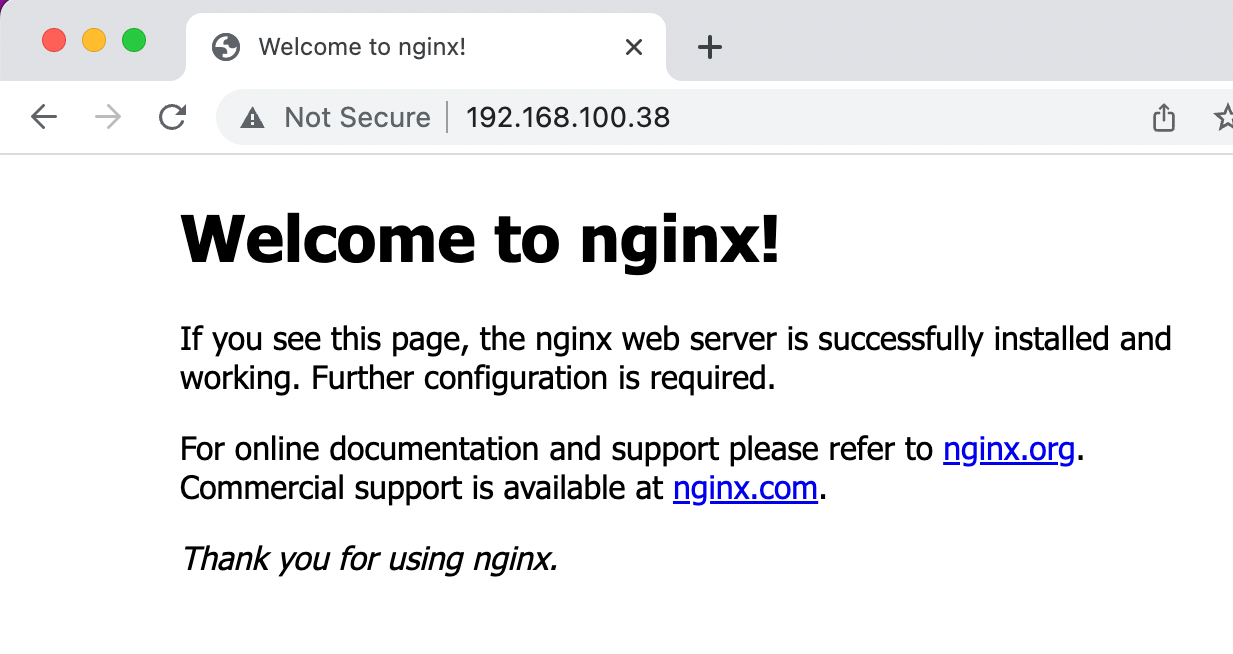
Well done Ansible.
In regard to those yellow messages where Ansible found that NGINX wasn’t installed, so it went ahead and installed them, you might be thinking “if we run the playbook again, shouldn’t they be green?”.
So that’s our first playbook done. We’ve only learned the commands for installing packages and working with services, but Ansible can do pretty much anything. Certainly anything you can do by sshing in and running a script of some kind. I don’t think I want to go any further with trying to show the range of things that can be accomplished (although it is tempting to now install a web page into our servers) - it makes more sense for you to just find what you need as you need it.
There is however one problem I ran into almost immediately and couldn’t find a simple description of that I’ll cover in the next post. Every Saturday morning, I ssh into my local and remote servers (15 of them) and run apt update and apt upgrade. You can see from the yaml above, that’s going to be quite easy to automate with Ansible and save me heaps of time and effort. My problem is - all my servers have unique user names and passwords. It’s not possible to just add a –ask-become-pass to my command; that would only work for the first one.
We’ll look at how to solve that securely in a future post.