HDD Swap on A1278 MacBook Pro
10 May 2023
My MacBook died, I guess about three years ago. It was randomly difficult for a week or so, but then just behaving as if it had no hard drive at all. It’s been in a drawer ever since waiting for me to replace the hard drive and see if I could sell it, which I never quite got to.
I mentioned a while ago that I’d borrowed an old Atom powered HP Mini 110 to play with a Linux desktop machine, partly for fun & learning, and partly for a first-class SPICE experience (also fun). Meanwhile I’ve got an old but still sexy Intel MacBook Pro sitting in a drawer - that doesn’t make sense!
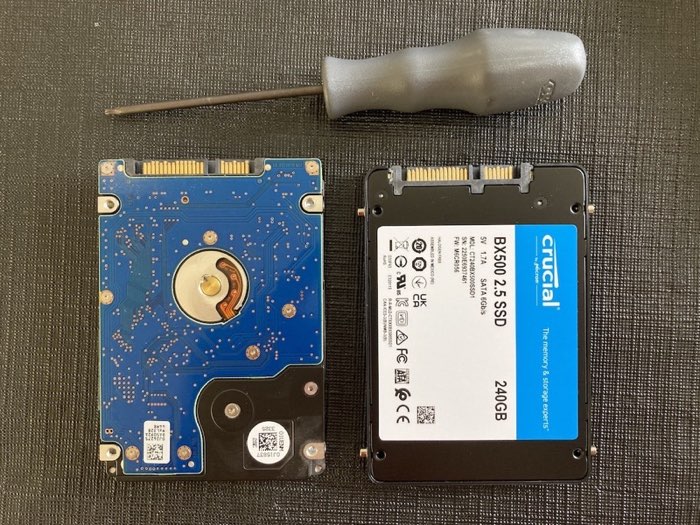
So I ordered an 2.5" SDD in order to resurrect the MacBook. This era (2012) of MacBooks are quite repairable - even the RAM is just regular SODIMM.
Instructions
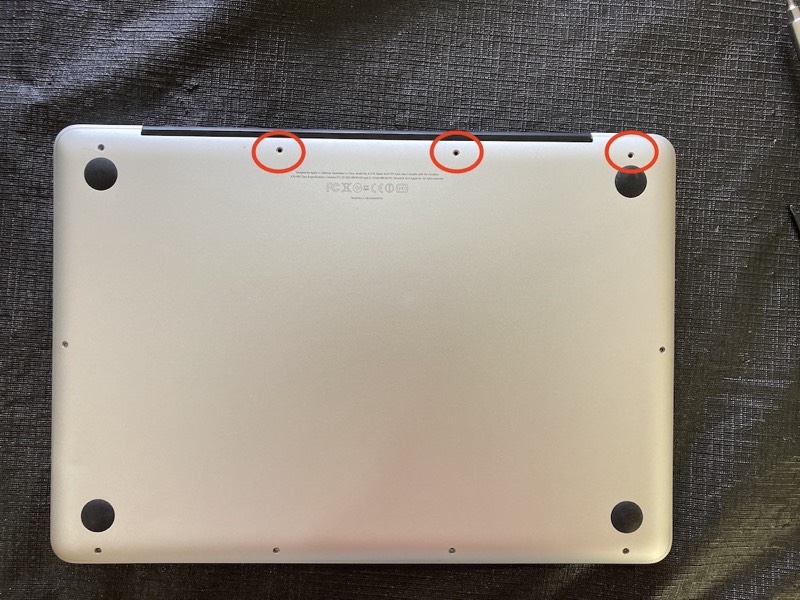
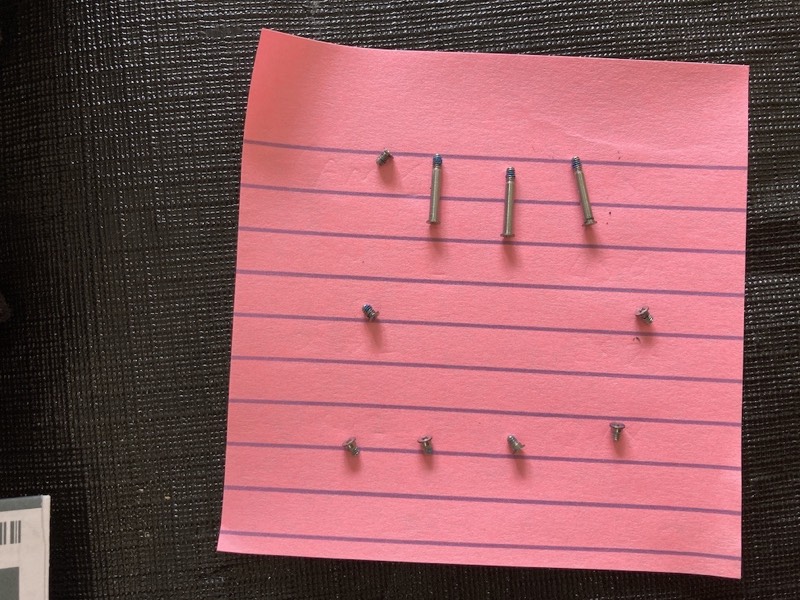
Lay it upside down and remove the screws with a tiny (I guess #00) Philips screwdriver. Note that the screws don’t come out perpendicular to the table you’re working on - the top four almost do, but the others are perpendicular to the tangent at the point of the screw hole. ie, the case is curved, so take that into account. It doesn’t matter much for removing them, but now is the time to notice.
If you’ve got the laptop turned around so you can read the writing, then the long screws are the three top right ones. If you lay them out in the order you remove them, you won’t have to remember that.
Pick the cover up from the back and it just lifts off.
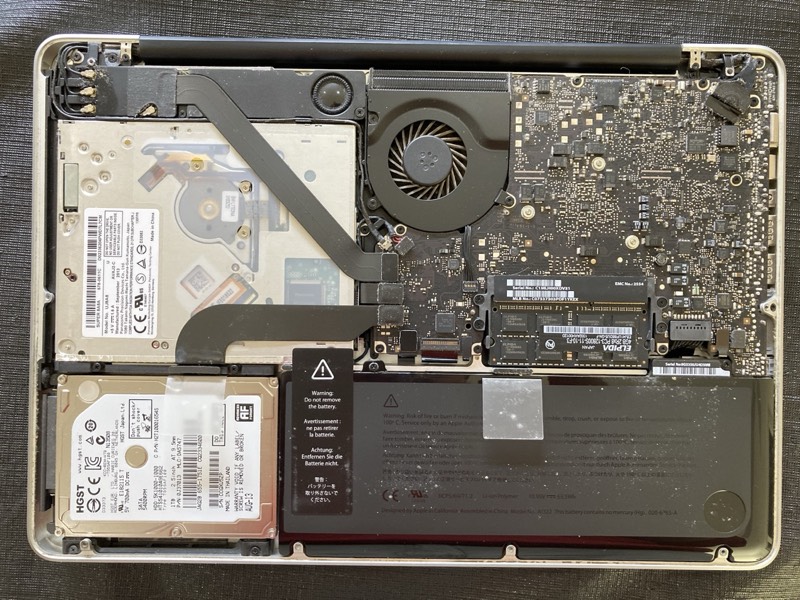
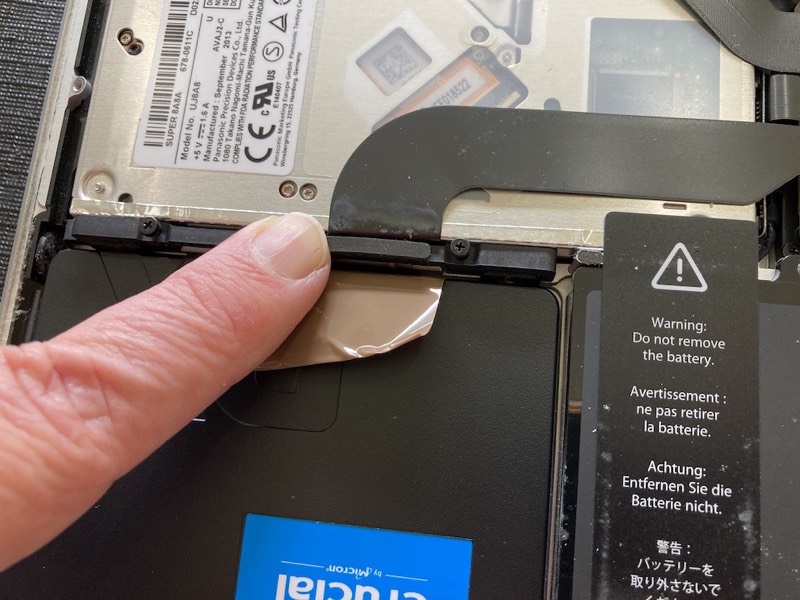
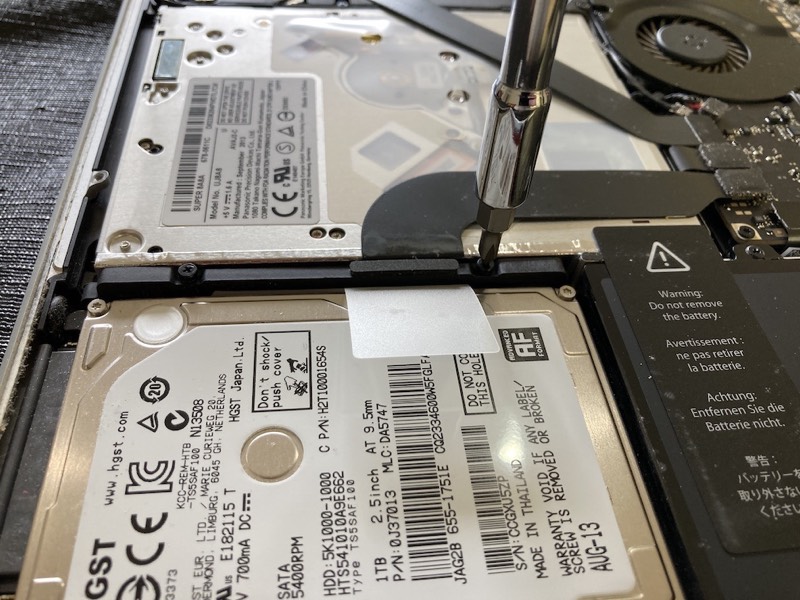
The HDD is in the bottom right corner there. It’s locked in with that black plastic retainer you can see above the drive. Use your little Philips screwdriver to undo the two screws holding it in place (they don’t come right out), then lift out the retainer and put it down somewhere carefully - you will need to put it back the right way later.

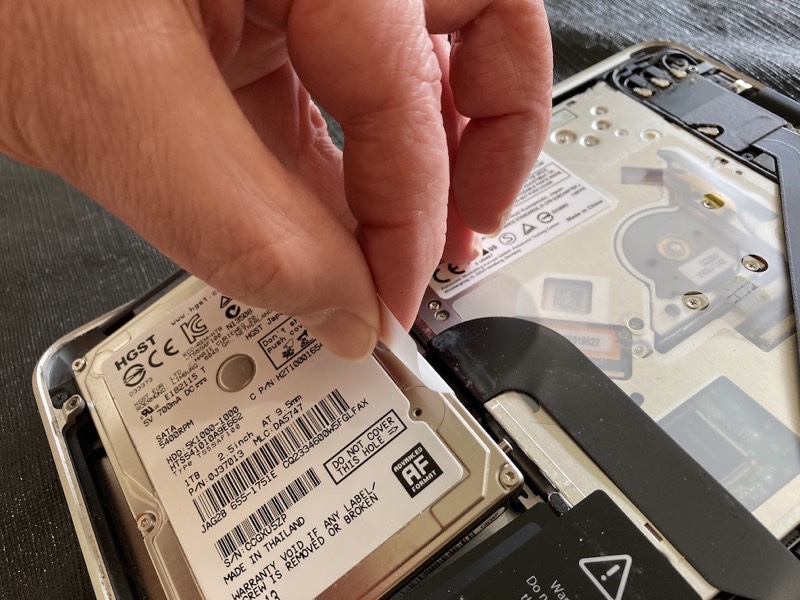
That plastic tab is for lifting the far side of the drive out. Only lift it far enough to loosen the remove the SATA plug from the drive, then lift the whole drive out.
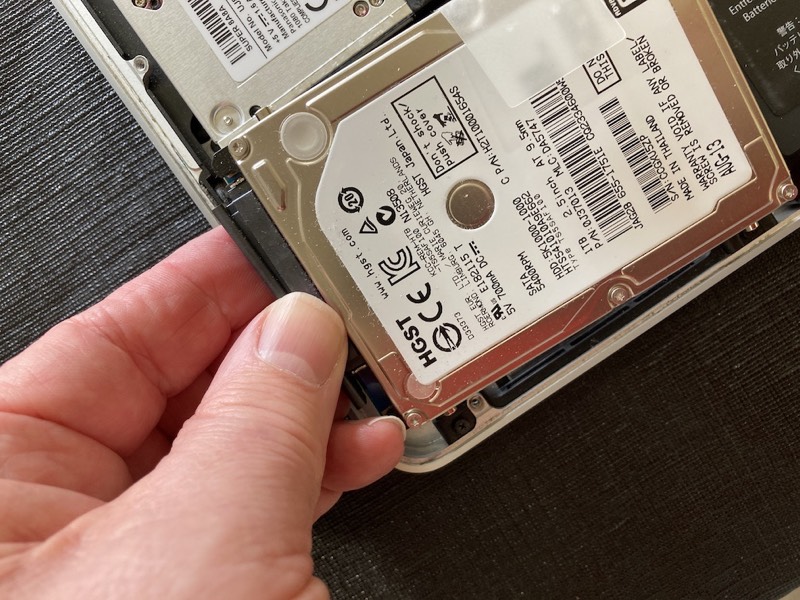
Once it’s unplugged, the drive will lift away from the bottom.
There are four little lug things screwed into the mounting screw holes on the drive. You’ll need to remove them and shift them over to the new drive. They nestle into the little round shock mounts at the case edge. You need a tiny torx driver for those lugs. I’m not sure what size, but the driver I bought for taking Nokia 5110’s apart fits perfectly.
Re-installation is just the opposite of taking it all apart. Be gentle with the SATA connector. I tried moving that sticky tab over to the new drive, but it wasn’t interested in re-sticking. So I McGyvered a bit of packing tape.