HP Secure Boot Pain
23 Mar 2023Since the HP EliteDesk 800 G1 I’m using as a dev/homelab machine is going to be re-purposed as a media/backup server elsewhere, I’ve grabbed another G2 to use as a second box. The homelab machine serves as a backup device for the production server that runs my self-hosted services, but also is the machine I play with - testing my software, but also trying out any new self-hosted software I’m having a look out or configurarions I’m thinking about for the ‘production’ server.
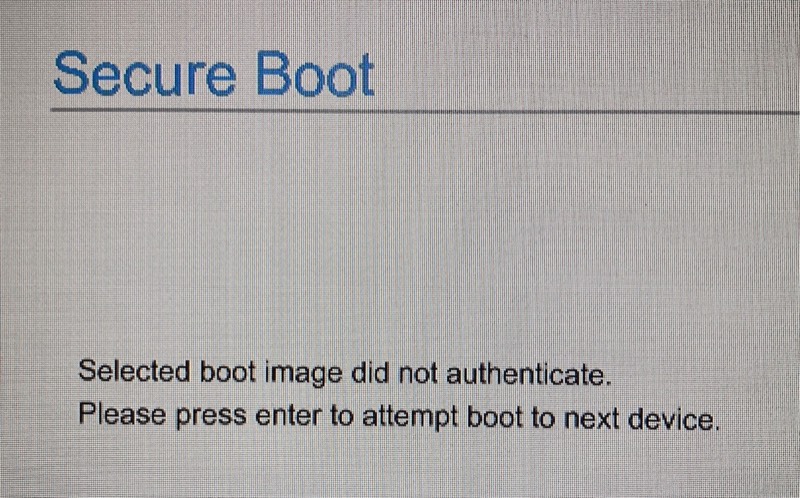
Normally, installing Proxmox is pretty routine for me, but the newer G2’s have a Secure Boot ‘feature’ which is probably super secure for installing Windows from the restore partition, but a pain for installing Proxmox from a USB. You’ll know this is the issue if you are trying to boot to the USB and getting the message Selected boot image did not authenticate.
If you Google this error there’s good advice to turn it off in the BIOS settings (it’s on the Advanced page by setting Secure Boot to Legacy Support Enable and Secure Boot Disable).

You’d probably think now would be the time for the old F10 Save & Exit, then start mashing the F9 (boot device) key while it reboots. At least, that’s what I thought, but every time I’d just get that same error, and if I went back into the BIOS, Secure Boot was somehow turned back on.
When I googled that problem, several responses in HP forums from HP support mentioned setting a BIOS password in order to be able to change some BIOS settings like secure boot. I tried, but it wouldn’t let me set the password. This was actually a blessing in disguise since this wasn’t the problem that was stopping me from turning secure boot off.
I was right to be saving the settings and exiting with F10, but then instead of mashing buttons during what I thought was the reboot, I should have waited for a different message asking me to type in a number shown on the screen to confirm the change. I’m not sure what the purpose of this message is - perhaps it’s a ‘confirm you’re a human’ thing. As you type in the numbers, they don’t appear, you just have to trust you’re doing it correctly. Once that’s done, you’ll be able to reboot, mach the F9, select the USB, and you’re on your way to Proxmox land.
Bonus Problem
If you get the message No support for KVM virtualization detected from Proxmox.
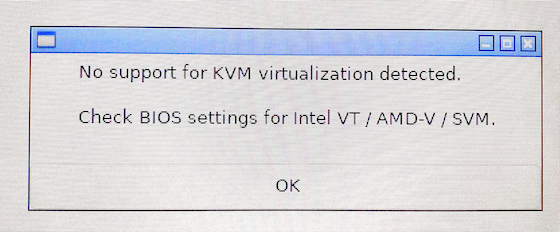
Then follow its advice. Head into the BIOS settings and look for Virtualization Technology (VTx) and turn it on.
