NGINX proxy manager - setting headers to use basic auth in your apps
9 Dec 2024When I’m spinning up side projects, I frequently ignore auth, and just rely on NGINX basic auth - one of the side benefits of reverse-proxying everything.
Regular NGINX
This article in the docs explains how to set up basic auth to protect different paths. To make it work in my node apps, I need the successful user name passed in so I check it against the user table to work out access rights etc.
To get it passed in with every request, we need to stick it in the headers. We do this in the NGINX conf for the site:
server {
	root /var/www/ct.example.com;
	index index.html;
	server_name ct.example.com;
	location / {
		auth_basic "Secure app";
	        auth_basic_user_file /etc/nginx/.htpasswd;

		proxy_pass http://localhost:3000;
		proxy_http_version 1.1;
		proxy_set_header Upgrade $http_upgrade;
		proxy_set_header Connection 'upgrade';
		proxy_set_header Host $host;
		proxy_set_header X-Username $remote_user;
		proxy_cache_bypass $http_upgrade;
	}
Then in my app, I just check the header like:
const USERNAME_HEADER = "x-username";

// basic auth middleware
app.use((req, res, next) => {
  const username = req.headers[USERNAME_HEADER];

  if (!username) {
    return res.status(400).send(`Missing header: ${USERNAME_HEADER}`);
  }

  const user = usersArray.find((user) => user.user === username);

  if (user) {
    // Save user details to req object
    req.role = user.role;
    req.username = username;
    next();
  } else {
    res.status(401).send(`User unauthorised: ${username}`);
  }
});
It’s a bit of a fudge, but for personal use apps it’s quick to set up, and pretty robust from a security point of view.
NGINX Proxy Manager
I’ve moved to using NGINX Proxy Manager (NPM) rather than raw NGINX since it makes getting SSL certificates super simple. NPM basically wraps all the reverse proxy functionality of NGINX into a nice click ops web GUI.
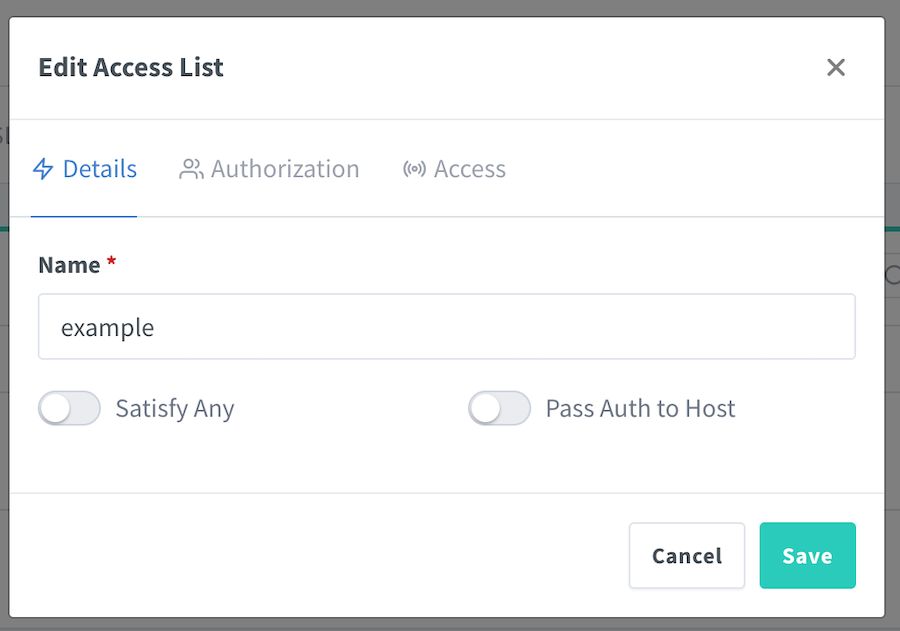
We now specify the user names and passwords in the gui (instead of faffing around installing apache2-utils and running it to build the .htpasswd file. This is done by creating an access list:
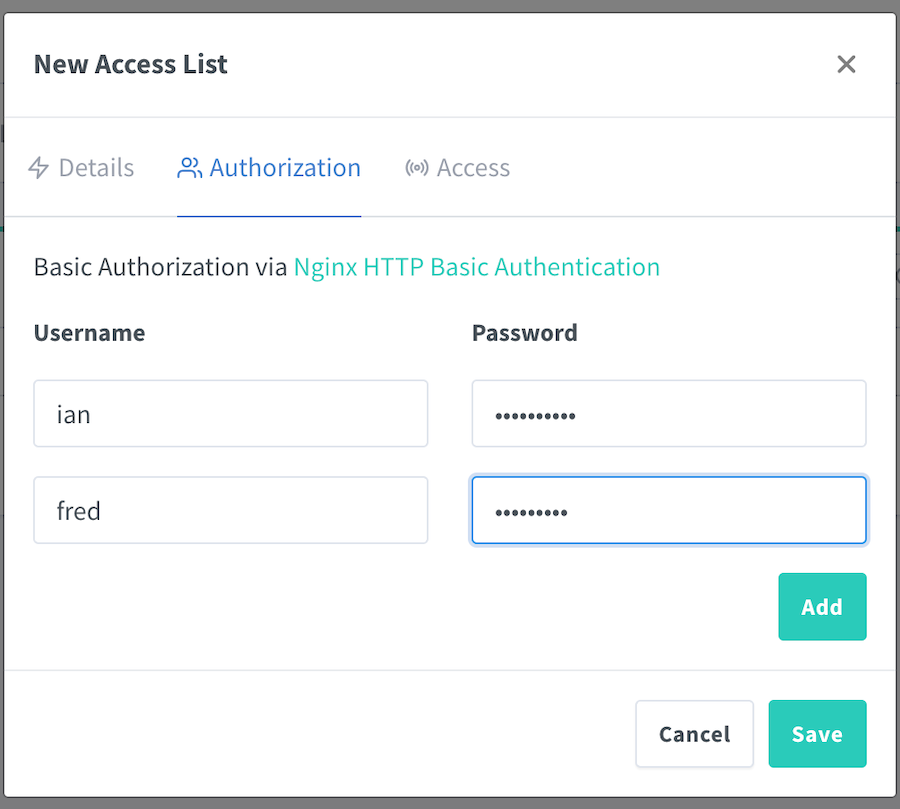
Then in the Authorization tab, adding your users:
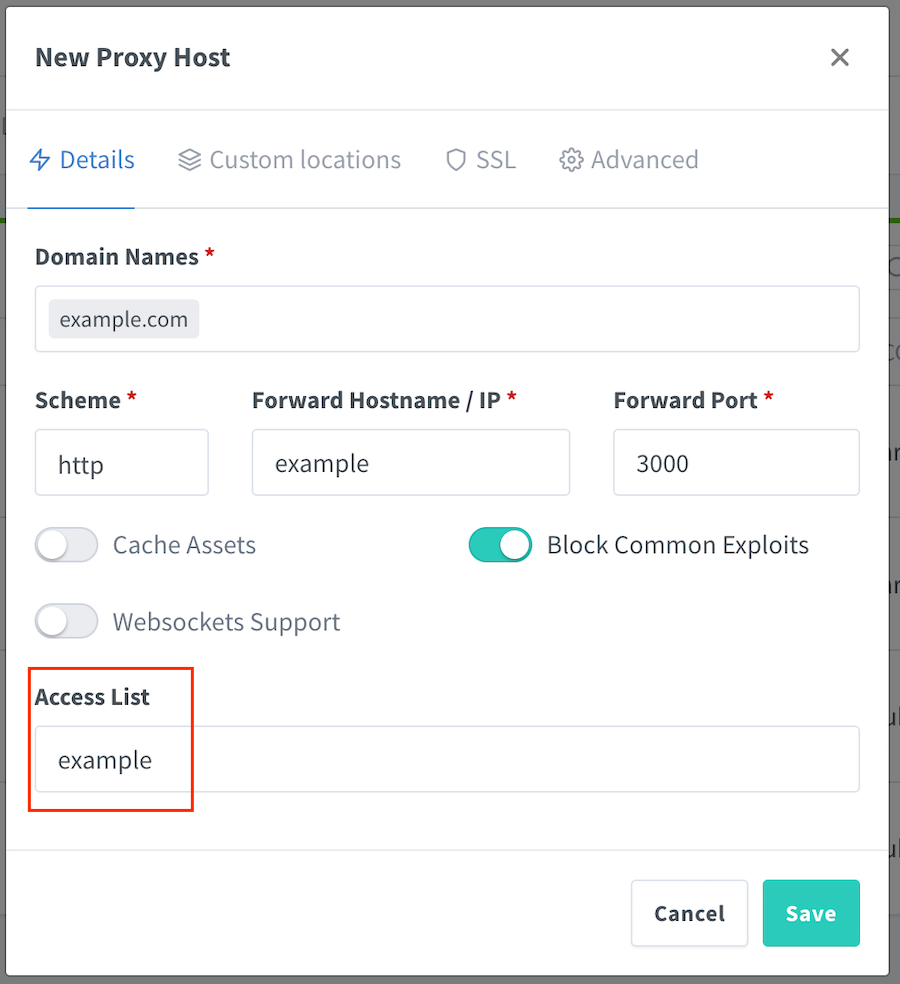
Once that’s saved, we apply it to the proxy record:
But then how do we set the x-username header? Since there’s an advanced tab, you may think it’s in there, and that looks promising till you read the warning below the text box.
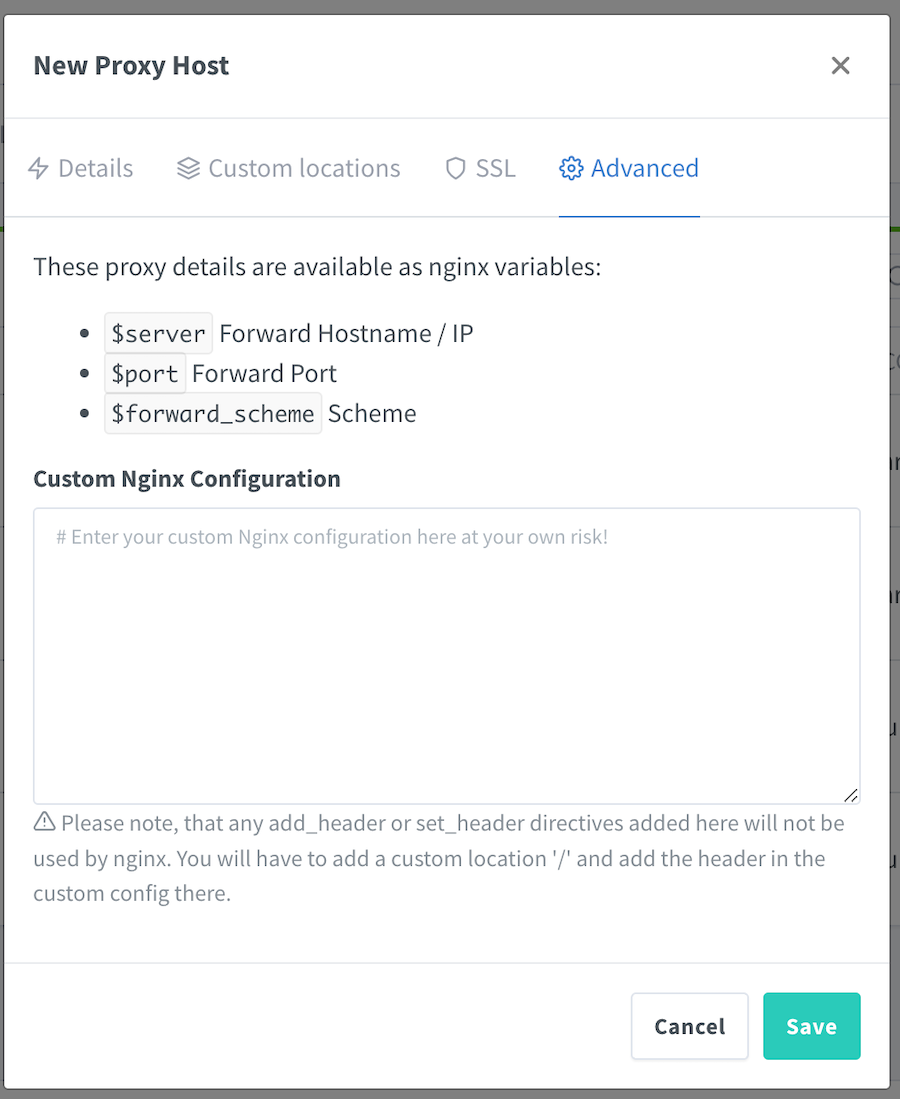
Setting a header is exactly what we want to do, so let’s head to the “locations” tab.
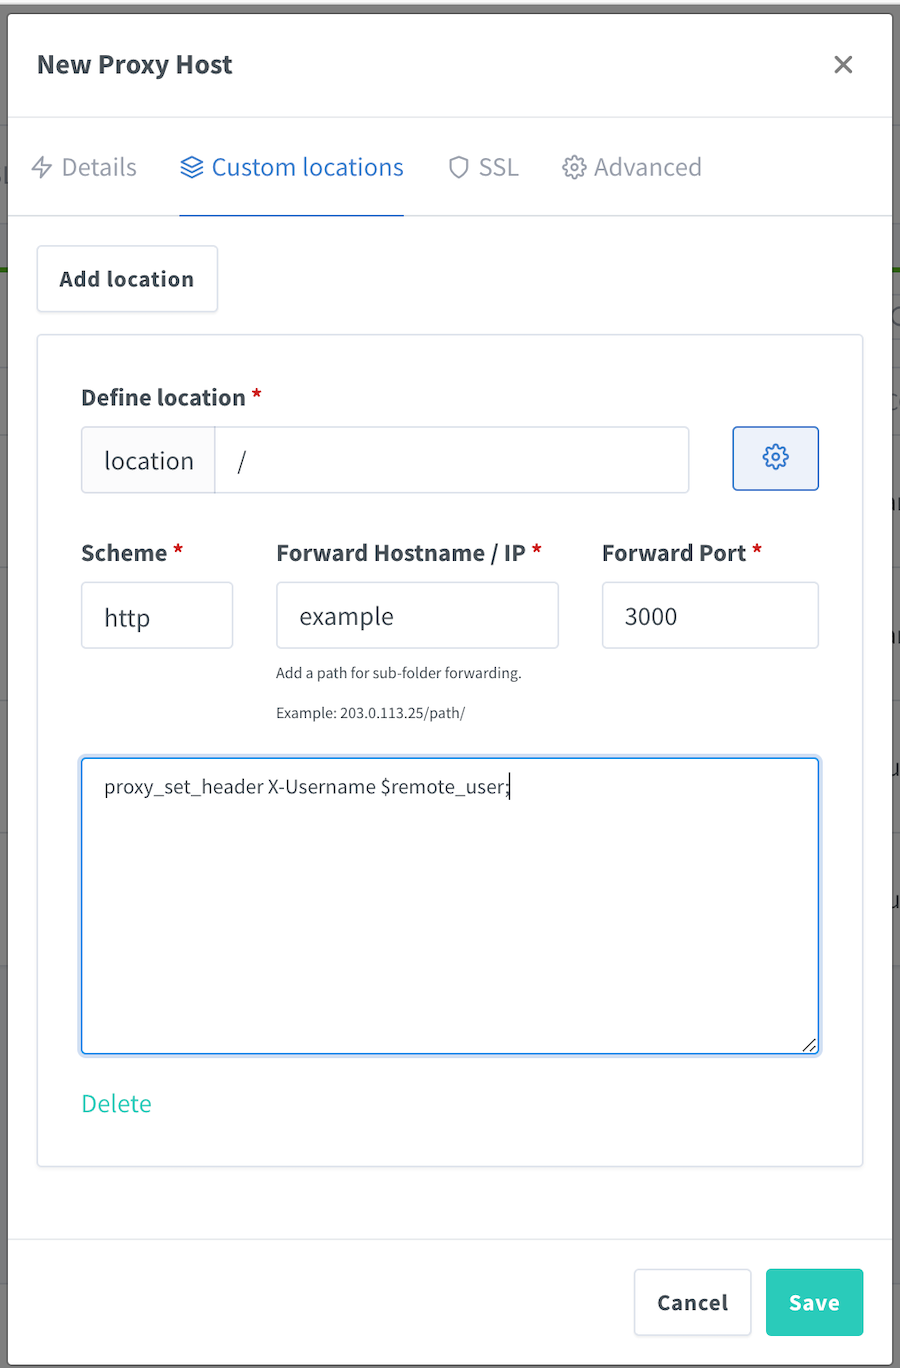
We just use the root path “/” for our path so it applies to every request, proxy those requests to our app, and set the header in the text box (which appears when you click the gear button).