Proxmox - Installing a Virtual Machine
7 Feb 2023Installing your first virtual machine (VM) in the Proxmox hypervisor is pretty straightforward. This post runs through those steps using Proxmox 7.3.
You need an operating system for your virtual machine, I’m going to use Ubuntu server in this example, but it could just as easily be Windows server , or regular windows, or one of the desktop Linux distributions. Whichever you decide, you’ll need to find and download the ISO for it. The ISO is a (usually quite large) file needed to install the operating system.
Once, you’ve got the ISO for the operating system, you need to upload it into Proxmox via the web interface. The ISO will be stored in the local directory style storage. If you click on it in Proxmox, you’ll see there’s actually a section for ISOs, as well as buttons there to upload an ISO from your machine, or to directly download it into ProxMox from a link.
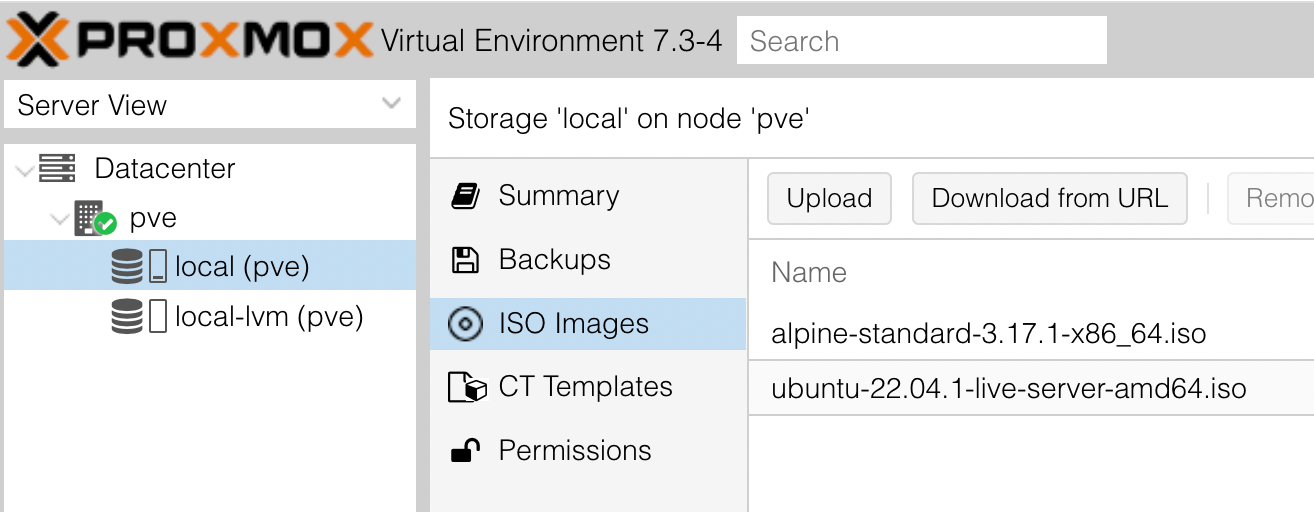
Above you can seen I’ve now got two ISO images stored in my local storage. Once an image is there, you are ready to install it.
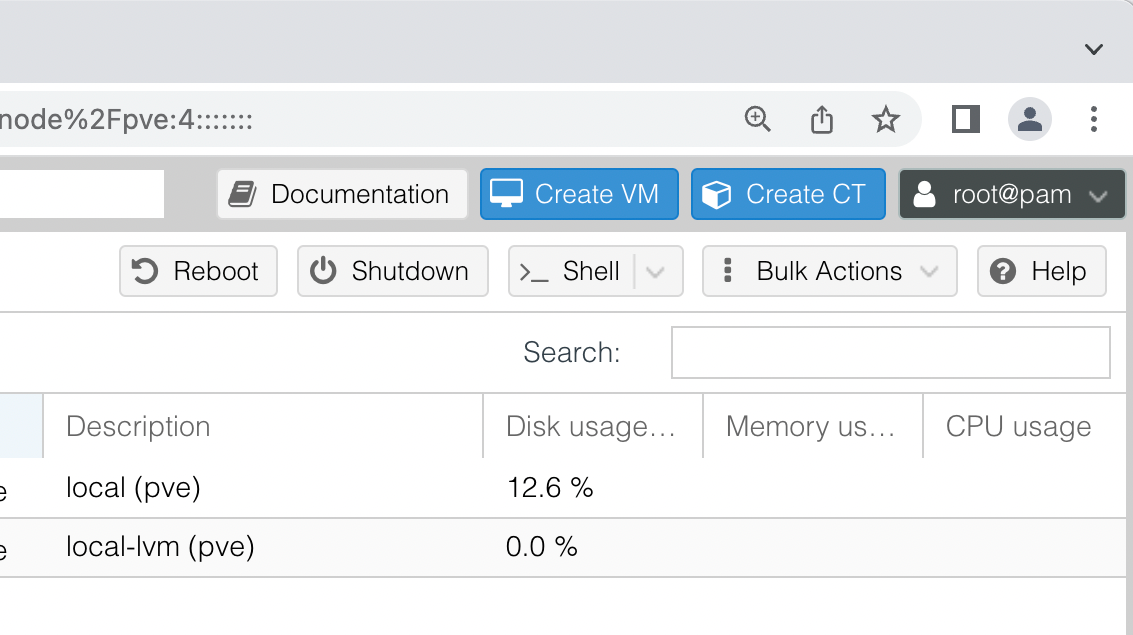
In the top right of the Proxmox screen there are two blue buttons. One of them says “Create VM”, and that’s what we want to do. Now there will be a series of dialogs to click through and fill out. Most things we can just leave as defaults, but a few need some decisions.
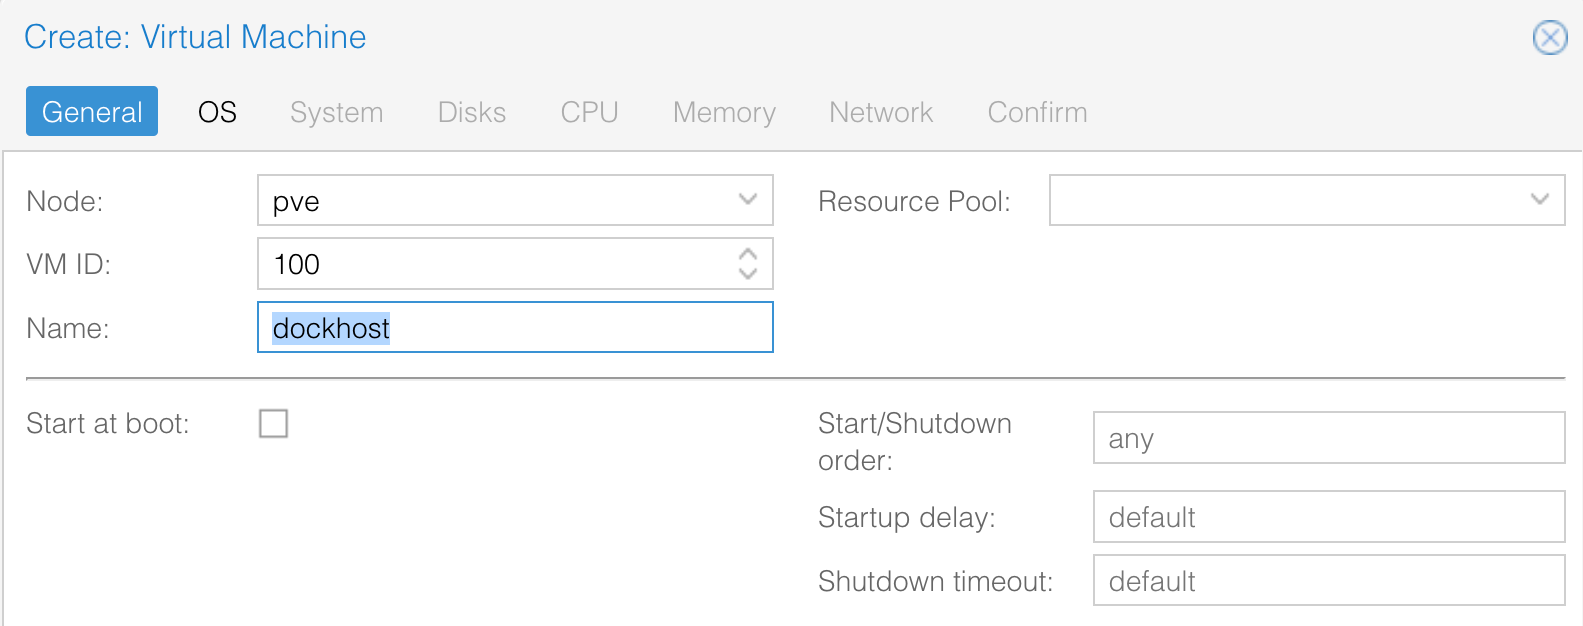
The node (your server) is already filled out. Mine is pve since I just used the default name when I first installed Proxmox. The VM (virtual machine) ID is used by Proxmox to identify the server. You can change this to any three digit number you haven’t used. I’m keeping 100. Some people use this to separate their server types, for example all their production servers might be in the three hundreds.
You need to come up with a name for this VM. These can only use letters and numbers - no punctuation. I like to keep them short, and describe the purpose of this VM, but perhaps you want to name yours after the OS you are using. I’m calling this one dockerhost because it’s going to host my Docker containers. Once you’ve decided, hit next.

Here’s where we choose the image, I’m going with the Unbuntu I downloaded earlier.
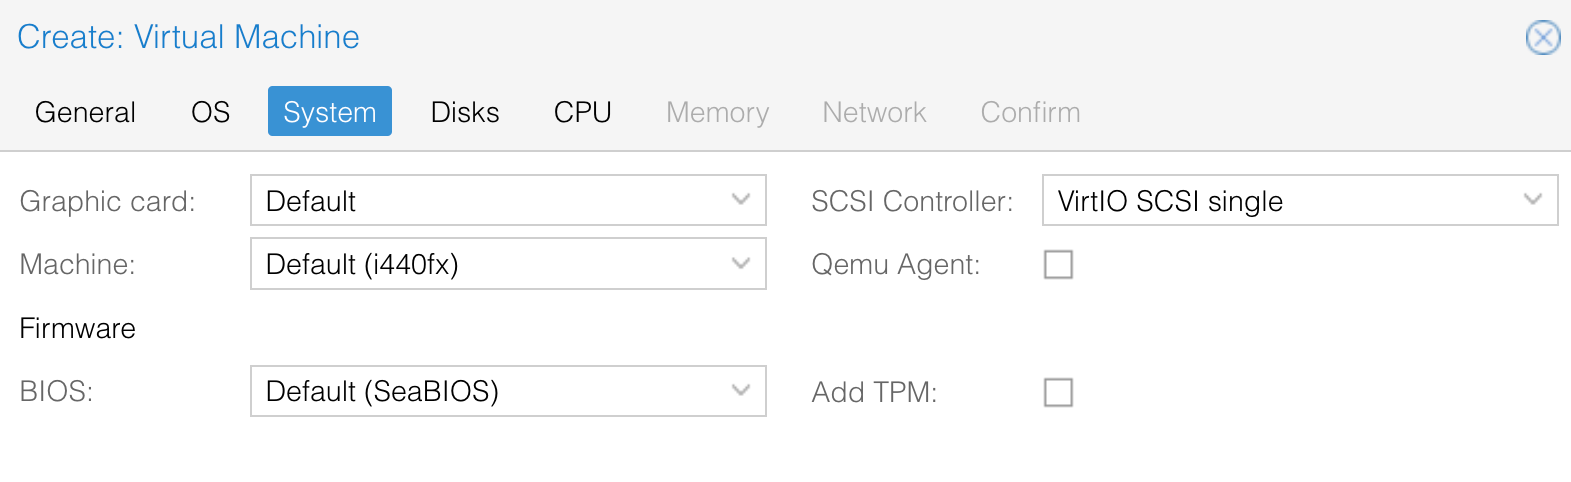
The System page - I’m just leaving all the defaults and hitting next.
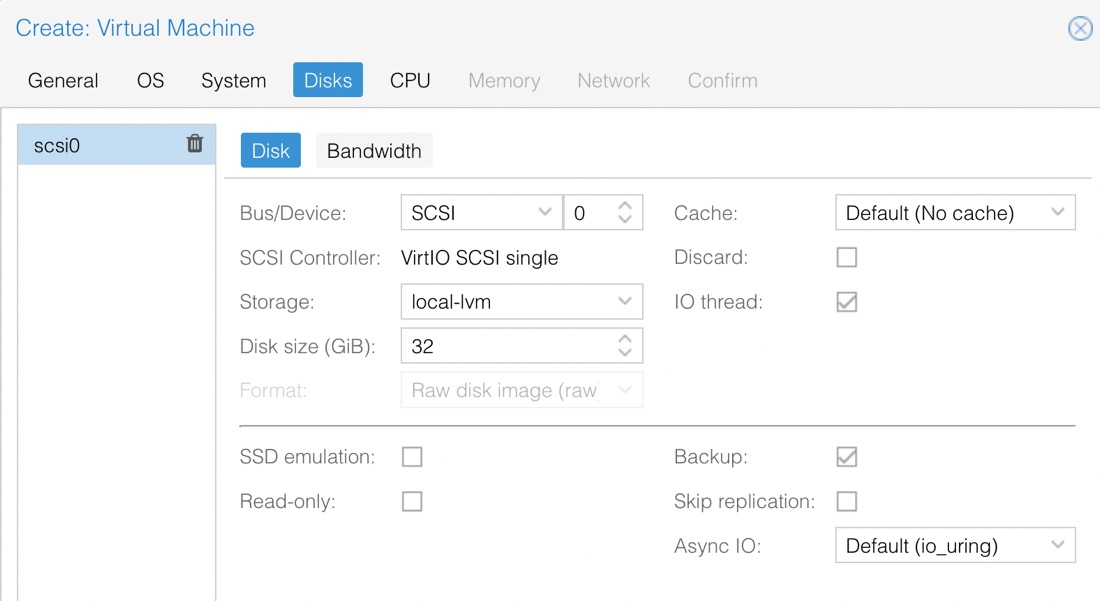
On the Disks page, we go have a decision to make: how much drive space does this VM get. You’ll remember from our discussion about thin provisioning that we can allocate more disk than we have, but it’s not a good idea. The final decision about this is something you need to make considering the purpose of this VM and the space you’ve got available to you. You might need to google around for recommendations. It’s pretty easy to increase the disk size after your VM is created, but more difficult to reduce it.
The Wizard has suggested 32GB for me, but the minimum spec is for 2.5GB . I am going to be downloading a few large containers, so 10GB seems like a good starting point for me.
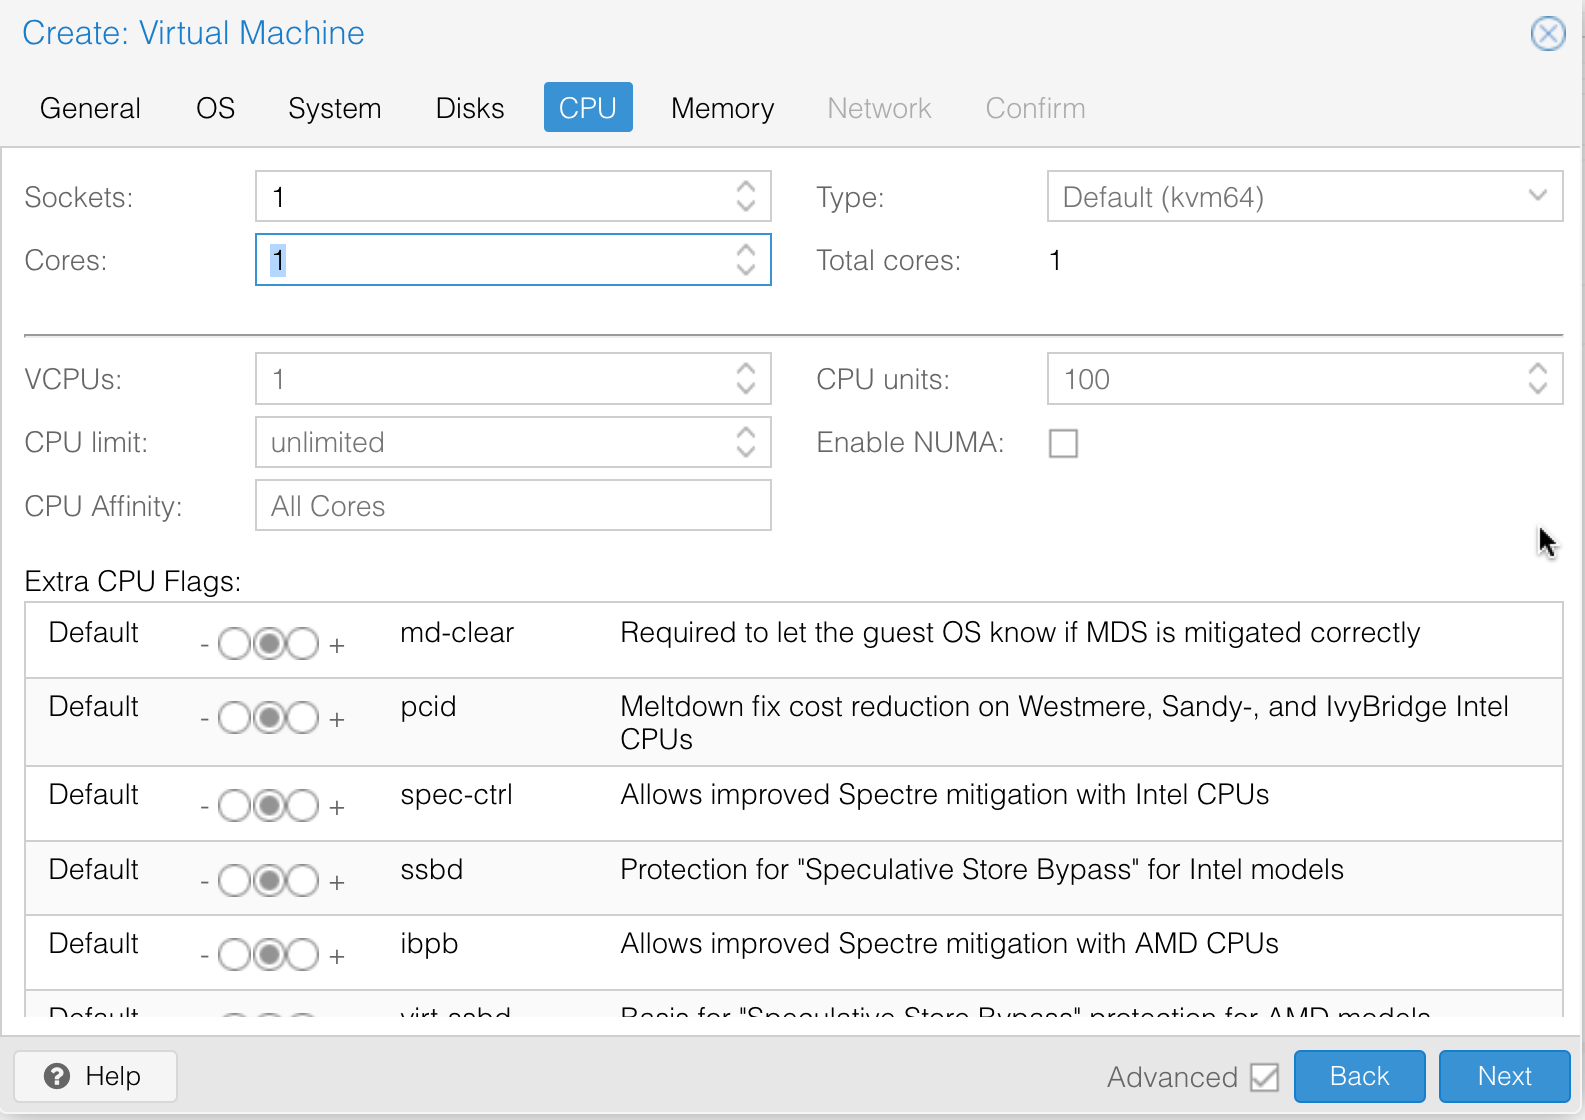
Next is the CPU’s. Leave the defaults for everything, except you need to make a decision about the number of cores. My baby server only has two cores, but yours may have a eight or more. Proxmox will ration things out to some extent by time slicing - so you can easily run eight VM’s all allocated one core on a four core processor. And in fact, since a lot of them will probably just be sitting there waiting for something to happen, none of them will need to wait.
It’s probably a bad idea to allocate all of your cores to one VM, so I’m going to say ‘one’ for mine, but you should also consider the processing needs of your VMs.
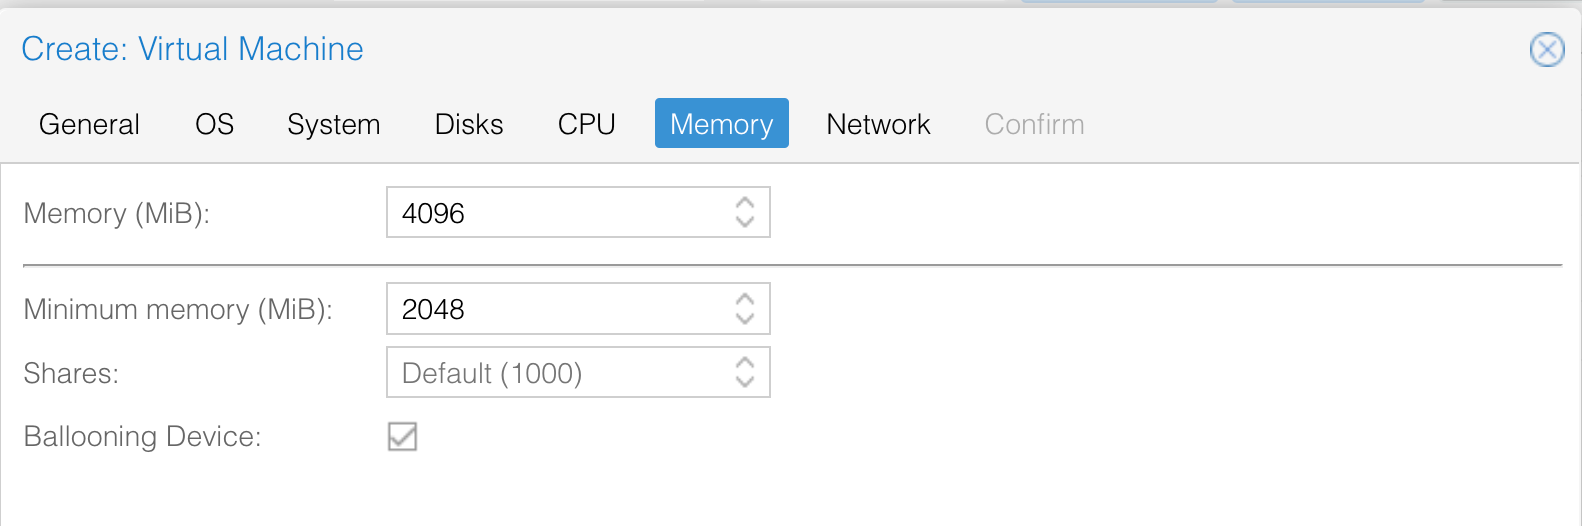
Another important consideration is the amount of memory. Again, the needs will be determined by your use case. In my case, the minimum spec is for 1GB, but I’m planning on loading up some large containers and I have 8GB in hardware. So I’ll go with 4GB. The story with the minimum memory field is a little bit complicated , but basically, setting this lower than the max memory gives Proxmox a little bit of flexibility to share it around if you’re not using it all - which sounds like a good idea, so I’ll say my minimum is 2GB.
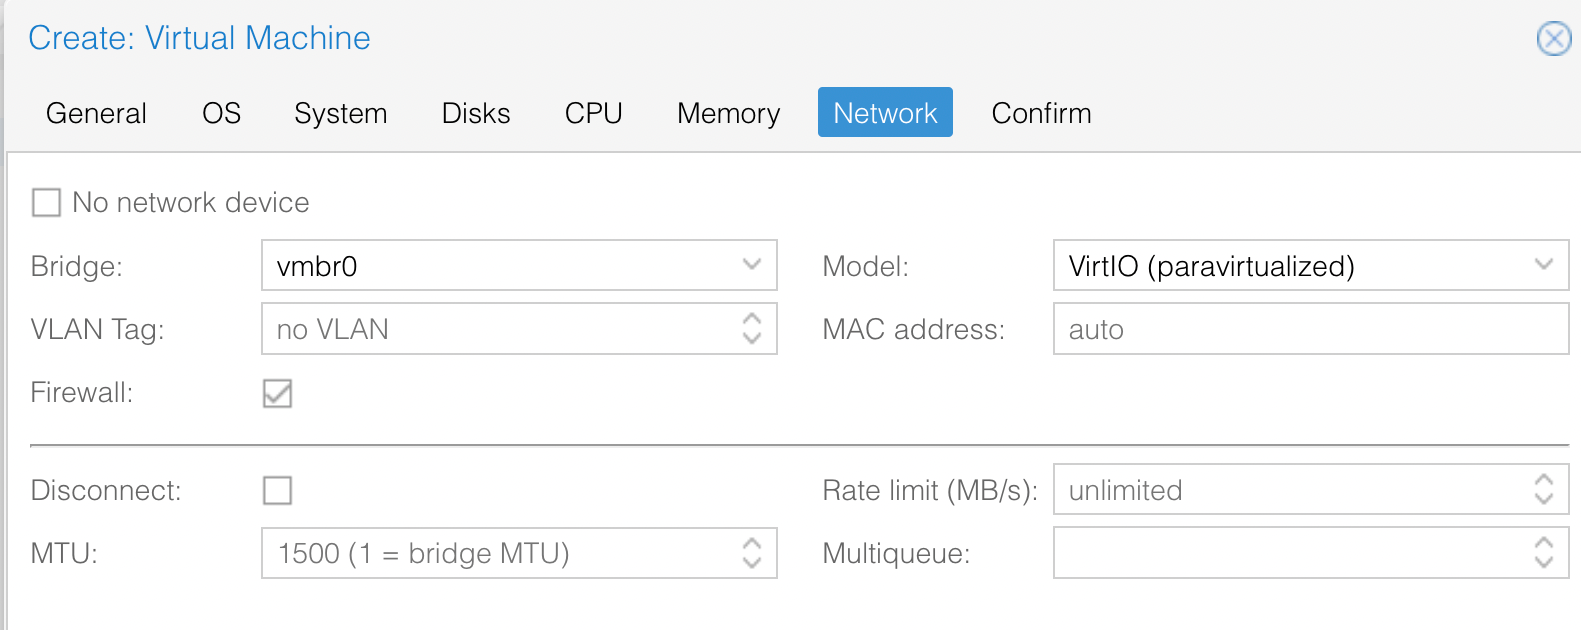
Networking in a visualized environment is a whole thing. But I have simple needs and only one hardware port, so all these defaults are fine for us.
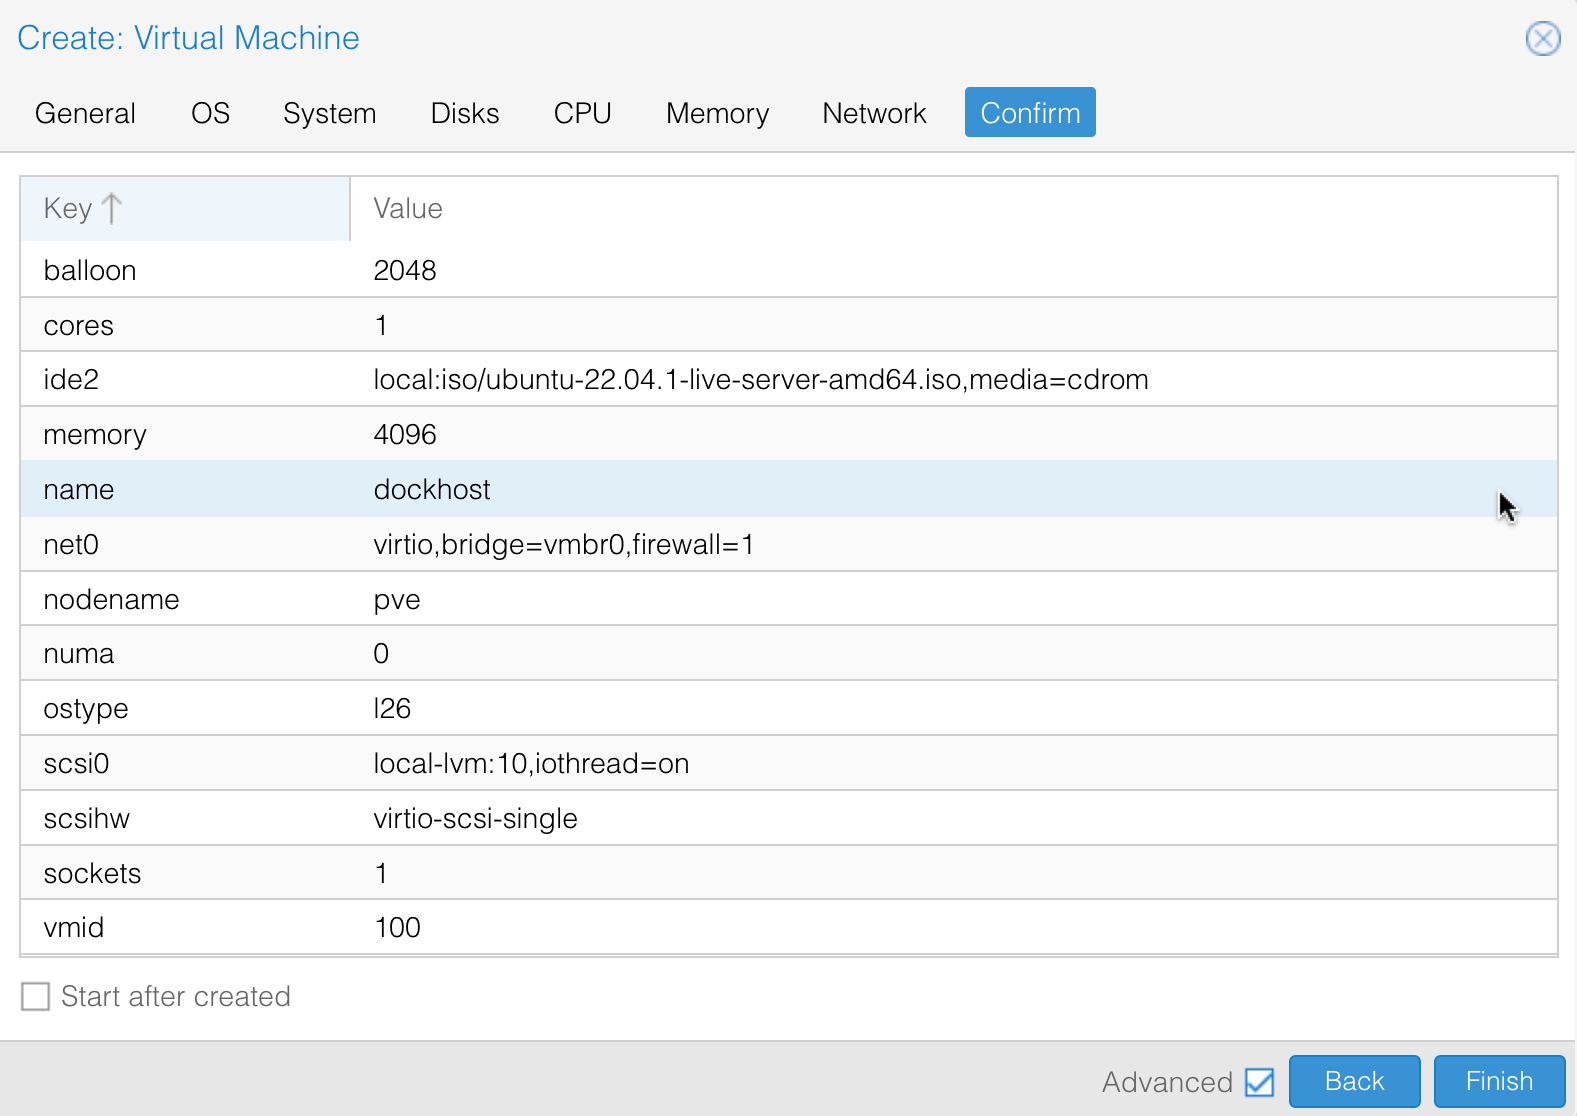
The Confirm page is just a last chance to look over what we’ve chosen, then we can press Finish to create our VM! A few seconds later it should be showing up in the server view. If we click on the VM in the server view, we can see the summary. It’s not very exciting yet because our machine is not running.
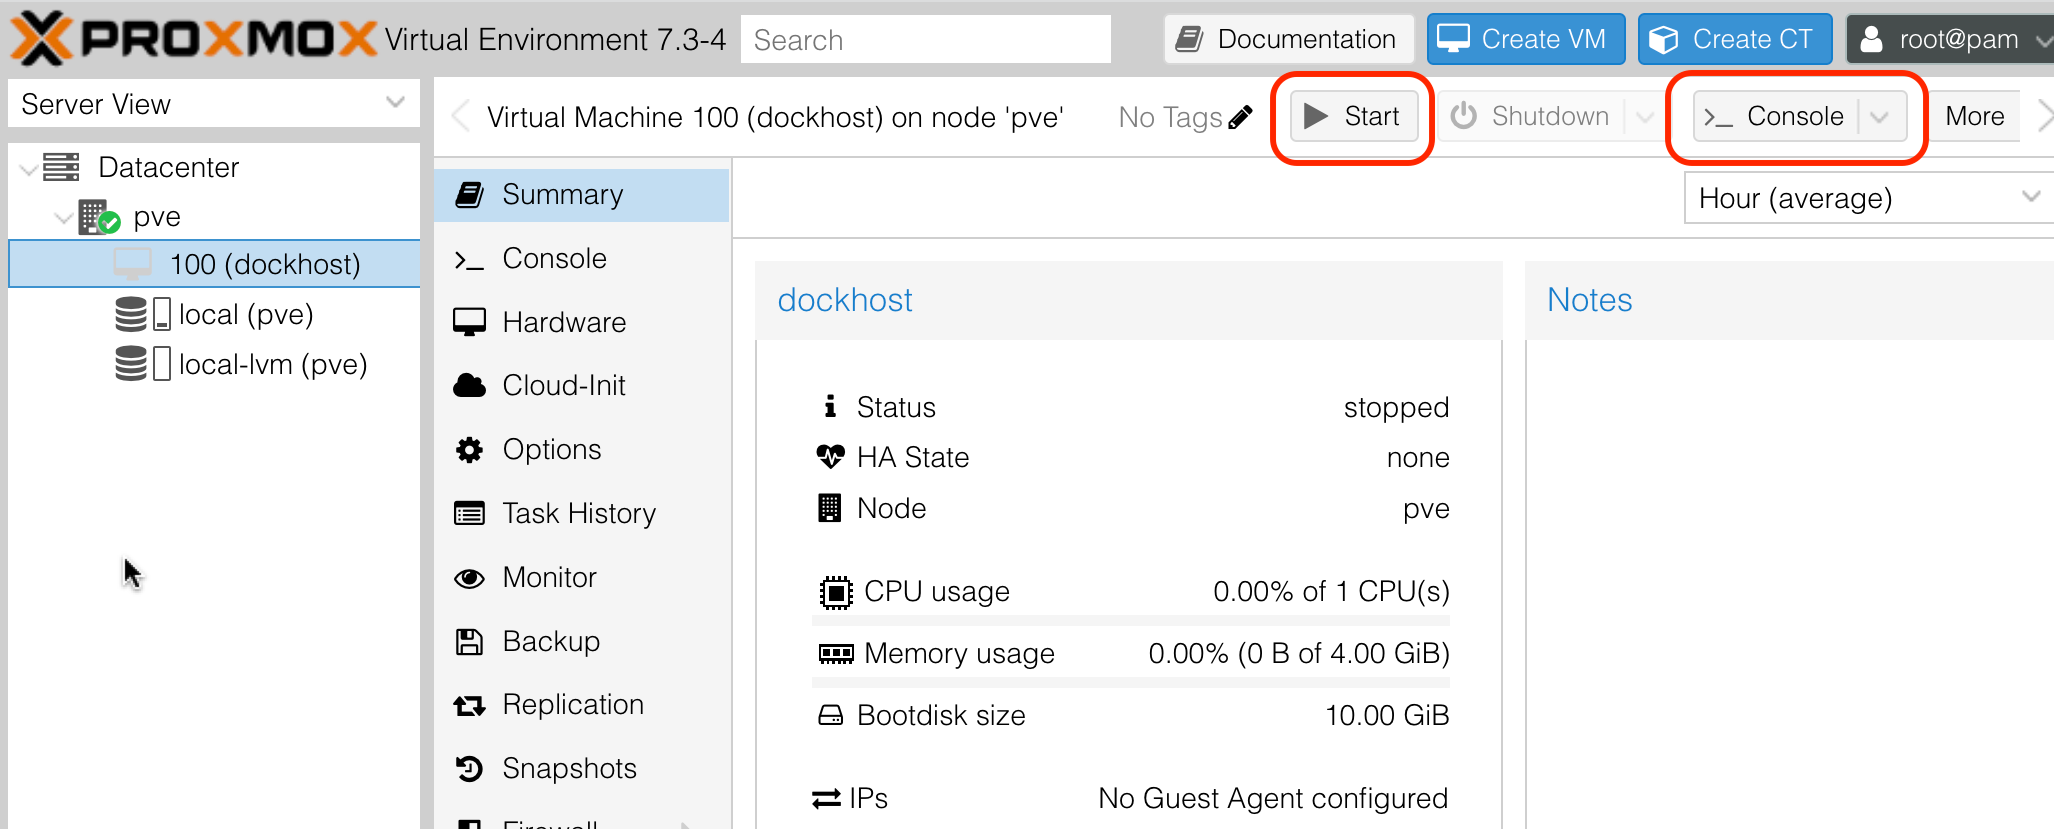
I’ve highlighted the buttons we are going to use next in the image above. Start is going to start the VM, and we’ll need to open the Console to see what’s going on. Go ahead and click both of these now, and sit back in amazement.
What happens next depends on what OS you are installing into this VM. You’ll just need to work your way through the questions accordingly. One point worth noticing though is that if is asks you questions like “Use the entire disk”, it’s talking about the virtual disk you allocated - not the physical disk.
This operating system you’re installing now doesn’t know it’s inside a virtual machine. Everything it sees - the machine bios, the screen, the memory - it’s all faked - and managed by Proxmox. You and Proxmox are playing god here. From the VM point of view, it could be installed directly on hardware. It doesn’t know the true nature of it’s world.

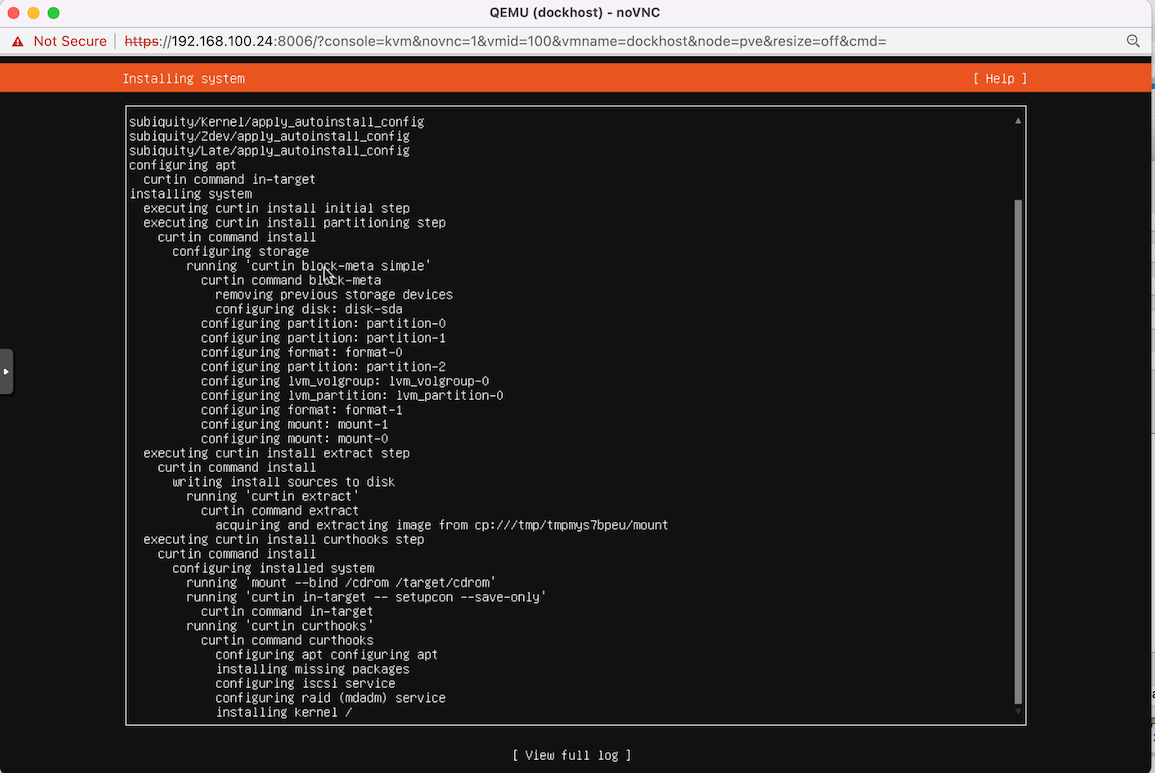
While you are killing time waiting for your new OS to install, if you haven’t used noVNC before, it’s worth noticing the little slide in options on the left edge there.

I most commonly use it to force this window fullscreen, but in the “Extra Keys” button might be handy if you’re running a Windows OS and want the Windows key. I don’t love this console window - I’d rather SSH in and use my terminal, but it’s a handy tool that’s always going to work if the VM is running.