Proxmox - Storage Basics
3 Feb 2023Once you’ve got Proxmox installed, you can point your web browser at the IP for the physical server, and use the port 8006. Log in as root using the password you entered during the install. If you just accepted all the defaults during the install it will look something like this:
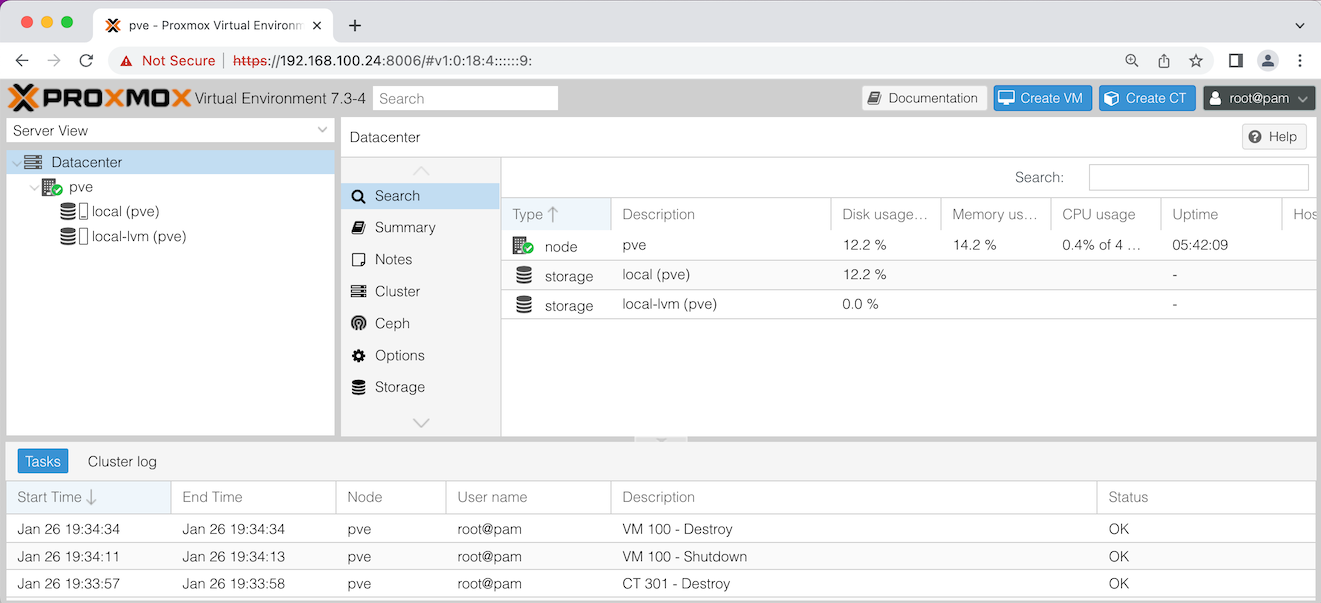
Let’s discuss what you’re seeing in that ‘Server View’ on the left there. pve is the name of my node - this installation of Proxmox on my physical server. If you named your server something different during the install, it will be show that name here.
Datacenter is just the idea of a container for all your nodes. I just have the one node, but if I had another physical server and set it up with Proxmox, it could be configured to appear in this dashboard along with my first node.
Looking at my node, pve, it has two storage items. Both are ’local’ which means they are physically on this machine. A common setup would be to have a Network Attached Storage (NAS) and have Proxmox use that for the Virtual Machine (VM) images. A big benefit of that would be the ability to move the VMs between nodes (physical servers) in your datacentre if needed - for example if a server failed.
Since I only have local storage, you might be wondering why the installer set me up with two. Let’s click on the first one local (pve) and look at the summary for it.
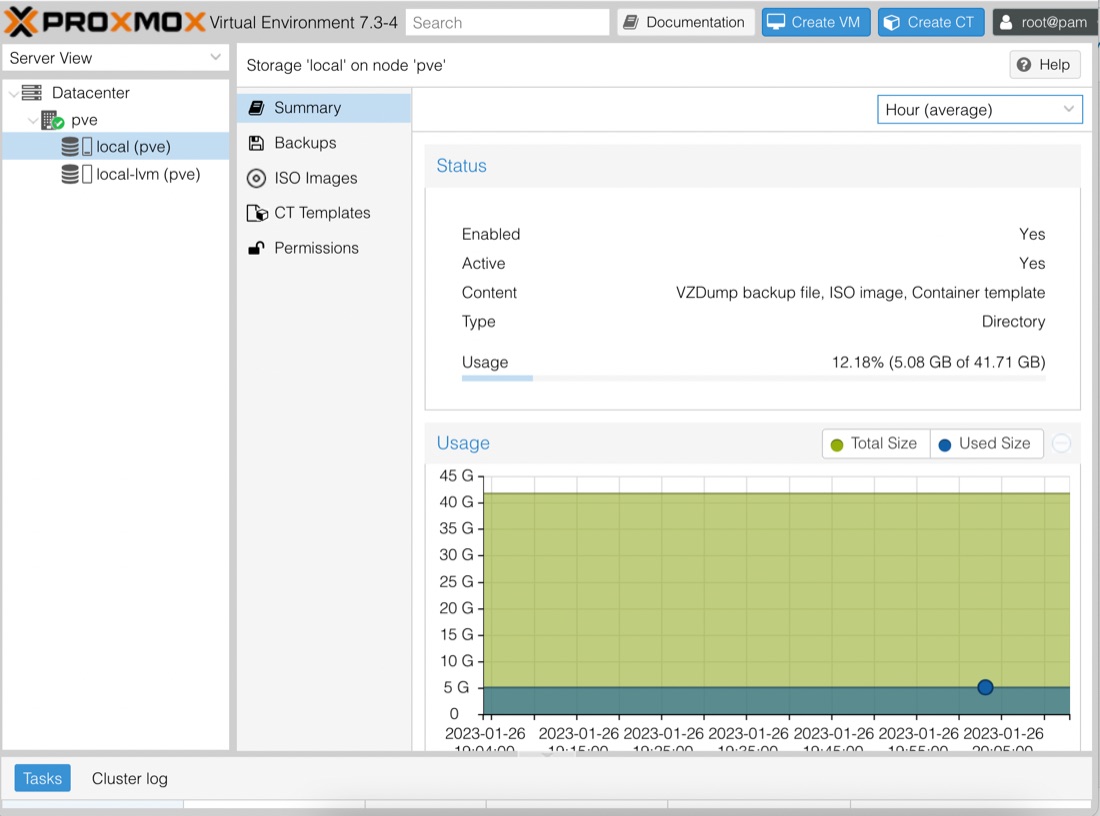
So we can see in the summary at the right, that the type of this storage is ‘Directory’. Meaning that this is just a directory in the host (internally, Proxmox is just a specialised Linux distribution - in theory we could drop in to bash and look at this directory).
The summary helpfully tells us the content for this storage as well, saying VZDump backup file, ISO image, Container template. These are:
- VZDump backup file - backups of VMs or containers
- ISO image - the images that VMs are created from
- Container template - images that containers are created from. For the moment, you can just imagine containers as lightweight VMs
You can see from the graph that I’ve used a bit of this storage already. That because I have some ISO’s and container templates already downloaded to play with for the next post and stored in the local directory type storage.
Let’s click on the other storage local-lmv (pve):
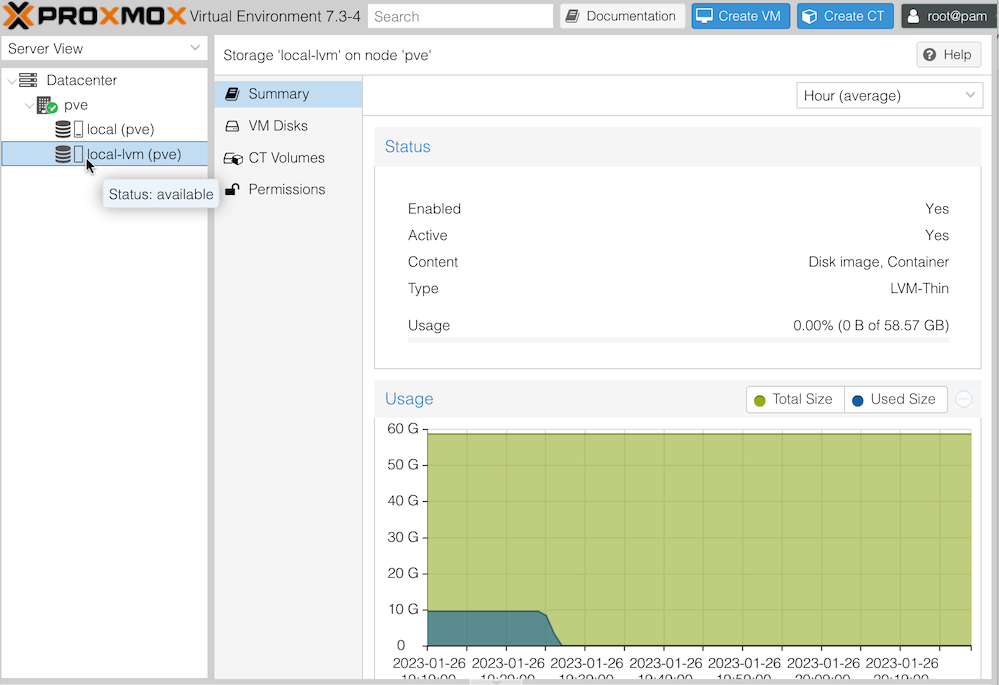
We already discussed the local part of the name local-lvm (pre) means it’s on this machine/node. LVM stands for Logical Volume Manager. An LVM is an abstraction from the physical disk. A single LMV might actually be made of of a number of physical partitions, or even drives. Regardless of this, and LVM presents as a single volume at the software layer.
This storage is used for disk for the VMs we’ll be running. If you look at the use graph, you can see that about 45 minutes ago, I had been using 10GB. That’s because I had a VM and a couple of containers configured. When I created them, part of that process is to specify how much disk storage each VM is allowed to use. Then that allocation is stored here.
You can see in the summary, that the type of this storage is LVM-Thin. The Thin part of this description means that although a hunk of storage is allocated, if it’s not actually used, then it’s still available to be allocated. For example, if you have a 100GB LVM, then you allocate 50GB to a VM, then on this display, you’ll see that 50 has been used up. But if the VM is only actually using 5GB, you’ll still effectively have 95GB to allocate.
This is a great idea, until those VM’s do start using up most of their allocation, because at that point the VM’s will start getting IO errors. Of course, since it’s an LVM, you’ll be able to add more storage to it before that happens if you’re keeping an eye on it. Thin provisioning was invented for companies that sell virtual server services. Their customers rarely use 100% of the hard disk space they pay for, so it’s highly profitable to use thin provisioning of storage and resell the same disk space multiple times.