Quick & Dirty auth with nginx & Node
23 Feb 2024One of the basic requirements for any serious web app is a proper users/roles/authentication system - but if you’re just throwing up a utility of some kind on a public IP for testing, and you don’t want it to be abused, then this could be an option. There’s a few components:
- Your app. In this demo it’s going to be Node, but it could be Go or whatever your server-side poison is. The app is listening for connections on a non-web port (ie not on 80 or 443), I’m going to use the traditional 3000.
- A firewall. That port (in my example 3000) must not be accessible from the internet. It has to be blocked by a firewall.
- A web server (I’m using nginx) that enforces basic auth.
I briefly discussed web server basic auth earlier - it’s a system built into the web server that requires a log in for a route, and authenticates it against the credentials in a password file (usually named .htpasswrd) and only serves the content if authenticated.
We’re going to complicate that a bit by then inserting the authenticated user name into a header, so that we can access it in our node app. The web server does this as it passes the incoming request to our app in a process called proxy-ing.
Prerequisites
You’re going to need a server, separate to the machine you’re using. I’m going to use an LXC container on one of my Proxmox servers, but perhaps you’re on windows and have a WSL to play with, or you’ve perhaps you’ve spun up a baby server on Hetzner, Linode or Digital Ocean. What ever floats your boat. You need to be able to set it up and ssh into it to follow along.
All my examples are assuming Debian, so that or a Debian based distro like Ubuntu is going to be simplest, but if you’re on something with a different package management system, you’re probably able to translate things to that.
Install nginx
To install nginx, we just
sudo apt install nginx
Now if we open the server ip address, we should see the nginx test page:
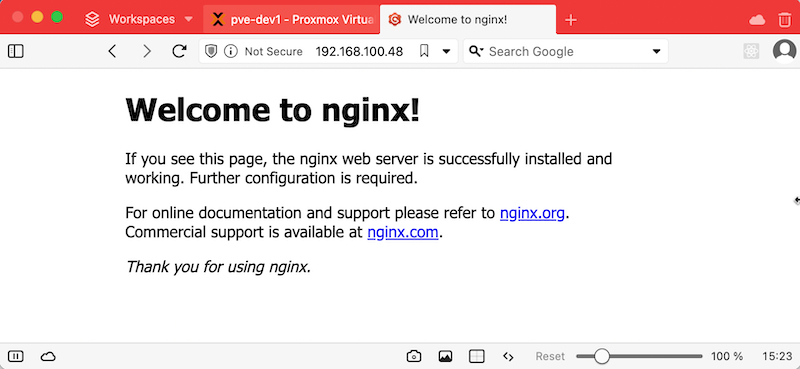
If you’re wondering where this page comes from, it’s /var/www/html/index.nginx-debian.html. There’s a default nginx site config at /etc/nginx/sites-available/default that points to it. We’ll be playing in there later.
Installing Node
sudo apt install nodejssudo apt install npm
This is going to install the version of node and npm that are provided by Debian or the Debian related distro you’re using, so they won’t be the latest and greatest, but they will be stable and bug patched to whatever level your distro maintainers think they should be. You could check with node -v and npm -v if you were interested, but we’re not using any bleeding edge features here, so whatever you’ve got it should be fine. For reverence, I have node v18.19.0, and npm 9.2.0
The App
We’re going to create a very basic node/Express server app to run on our server. I’m going to remote in with VS Code because that’s how I roll this week, but do this however you want. Nano is fine, or maybe you’re a vim person. Perhaps for these examples we’ll assume you’re a sane person near the start of their dev journey and use nano. ssh to the server, then:
mkdir appcd appnpm initnpm install expressnano app.js
Then, our app code in app.js
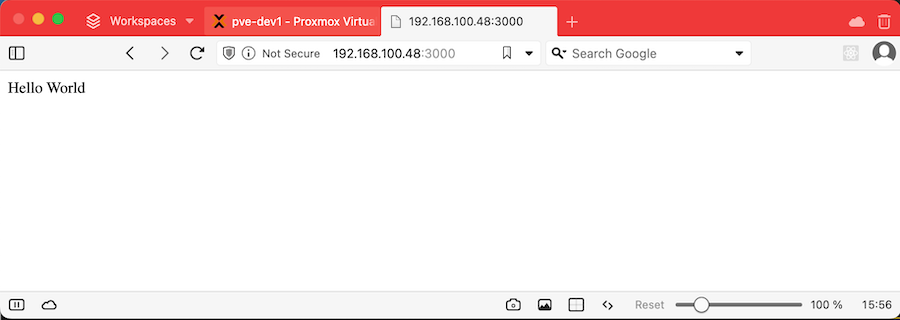
const express = require('express');const app = express();const port = 3000;app.get('/', (req, res) => { res.send('Hello World');});app.listen(port, () => { console.log(`Server is listening at http://localhost:${port}`);});
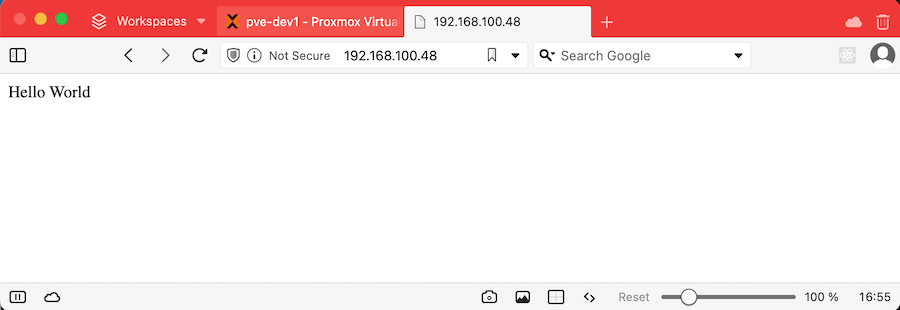
If we’ve done everything right, once you’ve saved that (ctl-O, ctl-X) if we run node app.js we’ll get the message Server is listening at http://localhost:3000 and visiting the IP address of our server with :3000 on the end should get this result:
The Firewall
Firewalls are their own big thing that I should write about another time. Suffice to say we’re going to make it so outside traffic can’t access our app on port 3000 (so we can force them to go through nginx where we authenticate them).
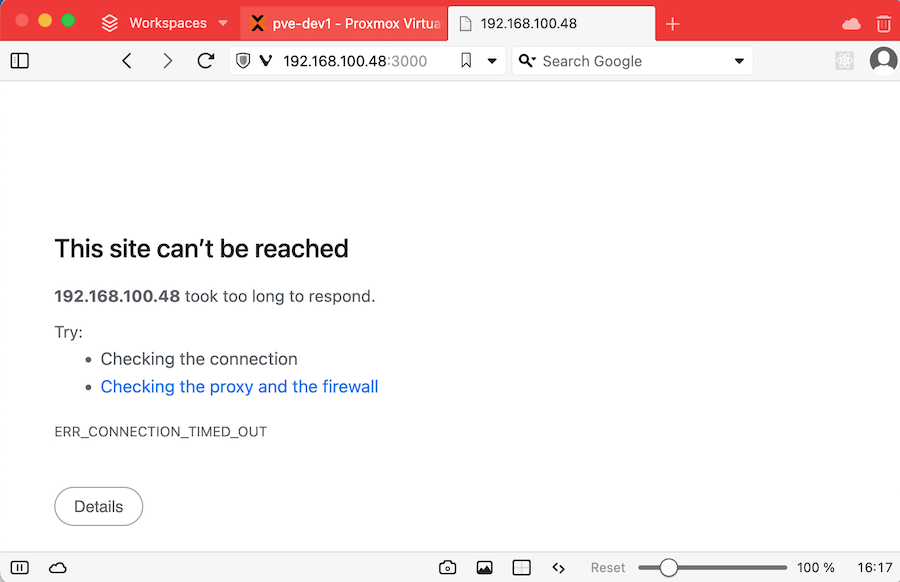
sudo apt-get install netfilter-persistentsudo iptables -A INPUT -p tcp --dport 3000 -j DROPsudo netfilter-persistent savesudo netfilter-persistent reload
Now if you start the app again with node app.js and visit :3000 in the browser, it should eventually just time out because the request is never making it to our app.
Proxy Pass
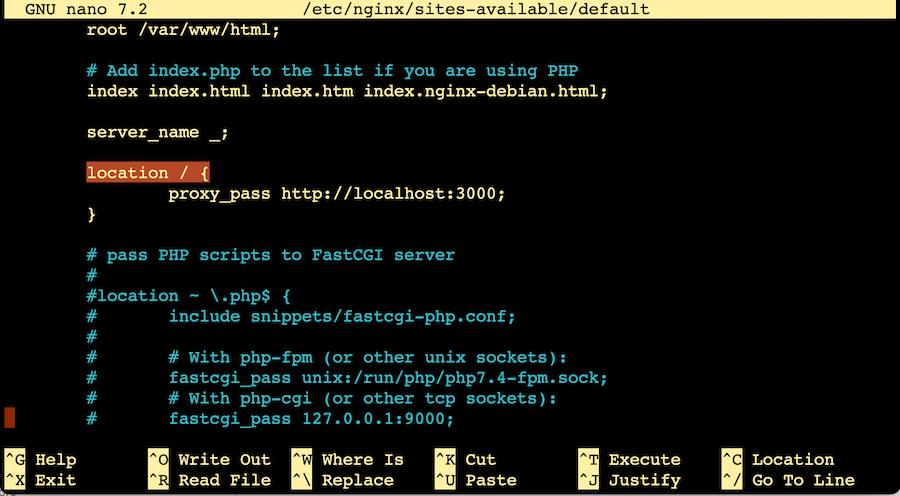
So now that raw access from the network to our app is blocked off, we want to configure nginx to pass any requests to our app. There’s a number of good reasons why you should put a web server in front of you apps, but today we’re doing it so we can authenticate the users. We’ll get to that, but for the moment, we need to edit /etc/nginx/sites-available/default
Scroll down till you see the location / { block. Delete out the contents and replace it with
proxy_pass http://localhost:3000;
Then we’ll check the configuration is okay, and restart the nginx server.
sudo nginx -tsudo service nginx restart
Now if our app is running (node app.js) you should be able to go to the server address (without the :3000) and see the app working again.
Credentials
Now we need to create a file with our credentials, so nginx can have something to check against. The first web server that I ever used that did this was Apache , and that format has carried forward to be used by nginx. I’m mentioning this to explain why I’m about to tell you to install some Apache tools.
sudo apt install apache2-utilssudo htpasswd -c /etc/nginx/.htpasswd user1
This second command is creating (that’s the -c flag) a text file called .htpasswd in the /etc/nginx directory. It doesn’t matter that much what it’s called or where it is - we’re going to specify that later in the nginx conf, but I like to put it somewhere I’d probably guess later.
user1 is just what I’ve called this user - it could of course be just about anything. htpasswd will ask you to enter a password for this user, and confirm it.

If you’re curious about how that looks in the file, you can just cat it out. You won’t see the plaintext password, it’s been hashed into gooblygook.
If you want to add more users, go ahead; it’s the same command without the -c
sudo htpasswd /etc/nginx/.htpasswd ian
Next, we need to tell nginx to use this. We need to go back to the same spot in the /etc/nginx/sites-available/default where we added the proxy pass statement. Just above the proxy statement, add:
auth_basic "Protected app";auth_basic_user_file /etc/nginx/.htpasswd;
“Protected app” is the explanation that should pop up in the modal, and the other directive just tells nginx where to look for the credentials.
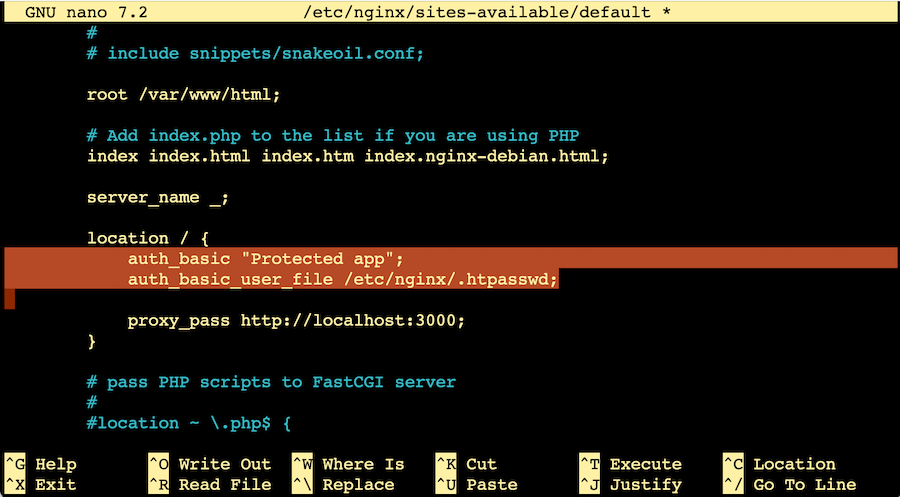
I’m pretty sure nginx processes these in order, so put the auth_basic directives before the proxy_pass.
Once that’s saved, we’ll check the configuration and restart nginx to load it.
ian@ct372-authplay:~$ sudo nginx -tnginx: the configuration file /etc/nginx/nginx.conf syntax is oknginx: configuration file /etc/nginx/nginx.conf test is successfulian@ct372-authplay:~$ sudo service nginx restart
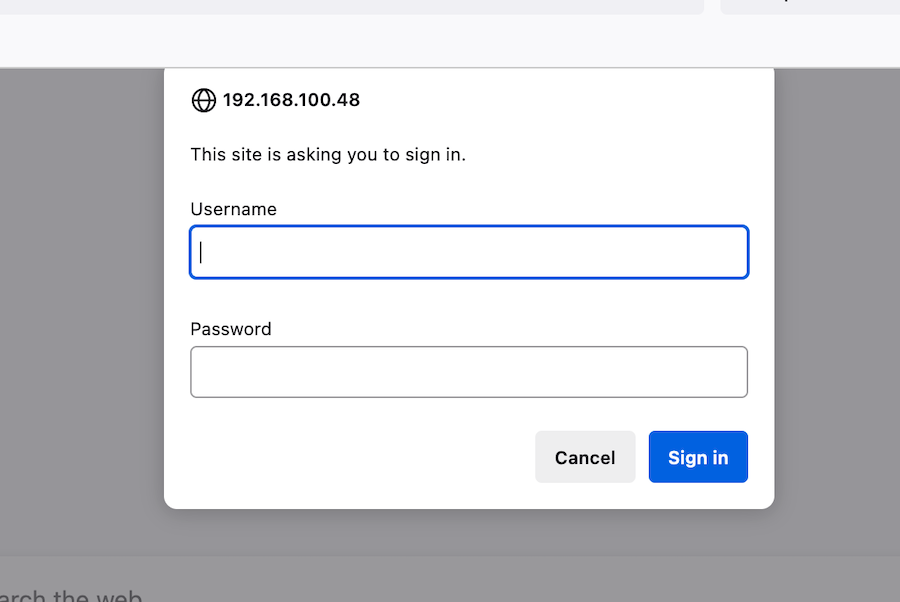
If we go back to the page, it should pop up and ask for the credentials. If you input your credentials it will direct you to the “hello world” message from our app.
Accessing the user in node
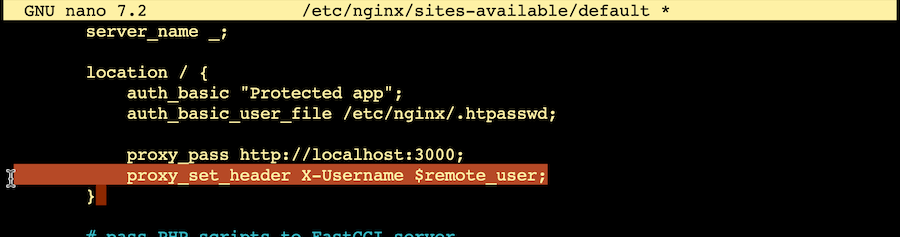
That’s all great, but how do we access the authenticated user in our app so we know what content to serve? Nginx knows the username, but our node app does not. To fix that, nginx needs to put it in the header passed to the app. To do this, we need to edit the nginx conf file again to add:
proxy_set_header X-Username $remote_user;
This takes the user name (in remote_user) and inserts it to the request header.
After making this change, we need to restart nginx to pick up the config change again - sudo service nginx restart
Back in our node app, we need to recover the username from the request header.
app.get('/', (req, res) => { const username = req.get('X-Username'); res.send('Hello '+username);});
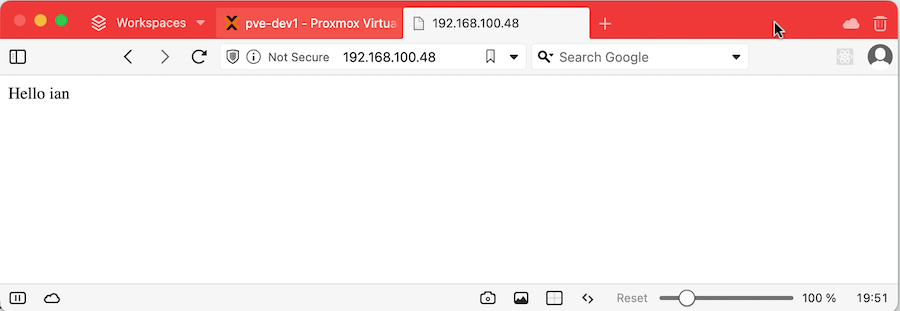
In the example above I’ve extracted the username in the route - often in my apps I do that in middleware and use it to set some request variables with allowed roles and so on.
Limitations
This is not a sophisticated system, here are some shortcomings:
- The most dangerous thing (although I guess this applies to any auth) is that if you’re not securing the web traffic with SSL, the password is transmitted in plaintext across the internet.
- There’s no simple way to logout or change the user.
- I entered wrong credentials about twenty times as fast as I could and it never stopped me trying, so a brute force is possible. There are ways of addressing this that I haven’t covered here.
All in all, this is a handy tool that doesn’t require a lot of libraries or setup. It is very simple and doesn’t provide any fancy functionality like password resets, but sometimes it’s all you need.