Uploading files to a web app with Node
2 Sept 2024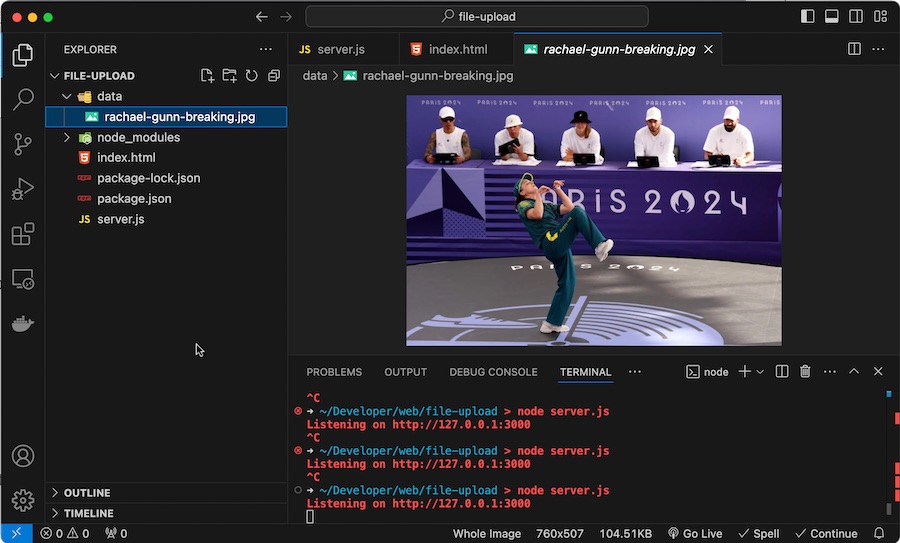
My default approach to web apps at the moment is Node/Express SSR. I needed to have users be able to upload files this week, and as usual there’s an express middleware that makes it trivial. This post just steps through using multer to make it simple to enable file uploads on your website.
Express & middleware
Before we look at file uploading, it’s worth just explaining how it fits with the other tools we’re using:
- Node - A server runtime that executes javascript. It’s a good option for writing web apps if you already know JavaScript from frontend. It has an extensive ecosystem of packages that are installed managed with NPM .
- Express - A node package that encapsulates a lot of functionality around handling web requests to make it much simpler for the developer. In particular it makes setting up routes easier and introduces the concept of middleware.
- Middleware - in Express we can install middleware - packages that intercept web requests and deal with them or pass them on. Commonly, they work to pull parts of requests out and expose them in developer friendly ways, but they can also do things like apply security rules to requests to allow or deny them.
Multer is express middleware to handle data from a web request that includes “multipart/form-data” - which is what we use for file uploads.
Steps
Since this is quite a small topic, and I’ve started by saying what Node is, I’ll pitch these explanations for beginners. I am going to assume you’ve been able to install VSCode or some other IDE that you know how to use, that you’ve installed Node on the machine you’re working on, and you’ve got some familiarity with JavaScript & HTML.
Project Setup
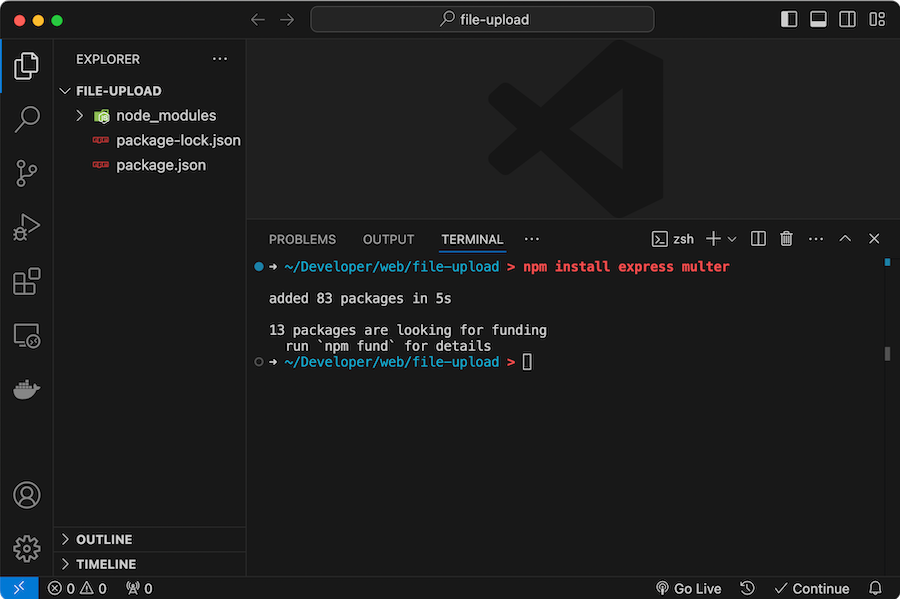
Create a directory for your project - I’m calling mine ‘file-upload’ which will be the name of this project. Open VSCode in that directory, and run:
npm install express multer
After a few seconds NPM should have created a couple of files (package.json & package-lock.json) and a directory called node_modules. node_modules contains all the library code we’ll be using, and the package files have some versioning information used by NPM.
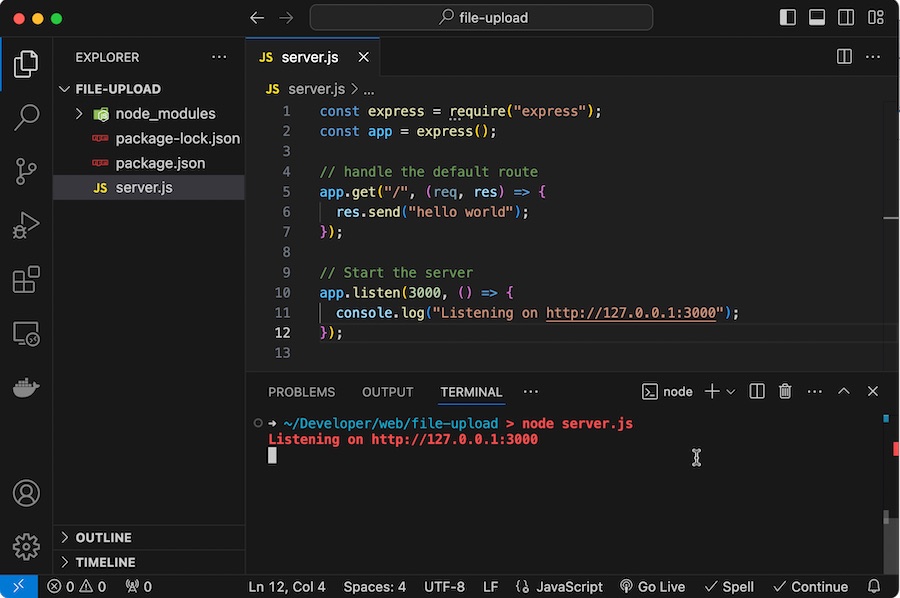
This is going to be a server that responds to web requests, so we better write a skeleton for that. Create a file called server.js and add this code.
const express = require("express");
const app = express();

// handle the default route
app.get("/", (req, res) => {
  res.send("hello world");
});

// Start the server
app.listen(3000, () => {
  console.log("Listening on http://127.0.0.1:3000");
});
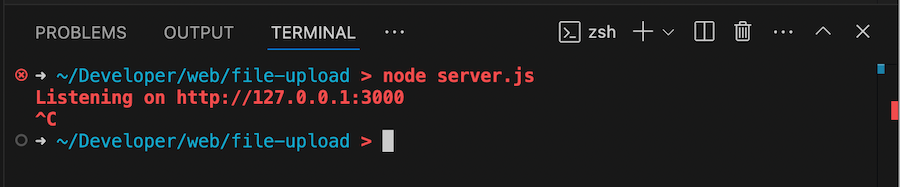
To start our server, we need to enter this in the terminal:
node server.js
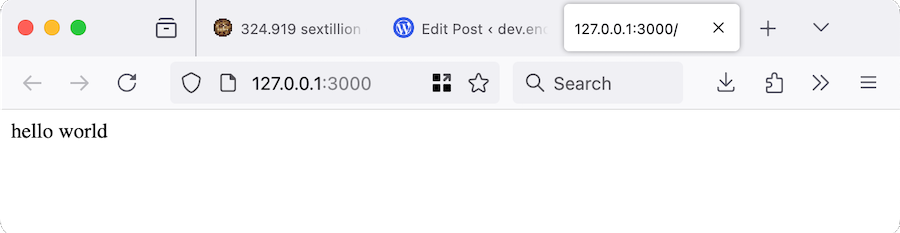
Now if you visit the web address http://127.0.0.1:3000 in your web browser, you should see the message “hello world”.
To stop the server hold down control and press ‘C’ in the terminal window.
Serving a HTML file
Sending that ‘hello world’ text is cool and all, but ideally, our web server would serve a web page. Let’s alter the default route of our server to do that:
const express = require("express");
const app = express();

// handle the default route
app.get("/", (req, res) => {
  res.sendFile(__dirname + "/index.html");
});

// Start the server
app.listen(3000, () => {
  console.log("Listening on http://127.0.0.1:3000");
});
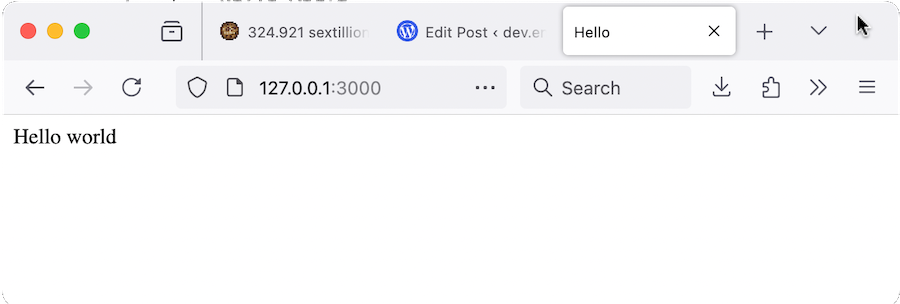
This will send the file index.html instead of just the ‘hello world’ text from before. The __dirname part is just saying the index.html file will be in the same directory as our app. We better also create an index.html there so it can be sent.
<!DOCTYPE html>
<html lang="en">
  <head>
    <title>Hello</title>
  </head>
  <body>
    Hello world
  </body>
</html>
Ah yes. That’s much more professional.
Multer
Now it does get a bit more complicated. Multer can use several different types of storage. For example you might want to use an S3 bucket on AWS. We have simpler tastes and just want to store files as files on our host, but the point is the storage engines can be swapped in and out for Multer, so we need to create a Multer storage engine, then a Multer upload that uses that storage.
Then the Multer upload is used in the route for the web request that contains our file. Possibly this explanation is more complicated than the code. Let’s have a look:
const express = require("express");
const multer = require("multer");
const fs = require("fs");

const app = express();

// set up storage engine for Multer
const storage = multer.diskStorage({
  destination: function (req, file, cb) {
    cb(null, "data/");
  },
  filename: function (req, file, cb) {
    cb(null, file.originalname);
  },
});

const upload = multer({ storage: storage });

// create the 'data' directory if it doesn't exist
if (!fs.existsSync("./data")) {
  fs.mkdirSync("./data");
}

// handle the default route
app.get("/", (req, res) => {
  res.sendFile(__dirname + "/index.html");
});

// handle the upload route
app.post("/upload", upload.single("file"), (req, res) => {
  if (!req.file) {
    return res.status(400).send("No file uploaded.");
  }
  res.send("File uploaded successfully.");
});

// start the server
app.listen(3000, () => {
  console.log("Listening on http://127.0.0.1:3000");
});
We’ll look at each of these new fragments one at a time:
const multer = require("multer");
const fs = require("fs");
This just pulls in two libraries - multer for handling the uploads, and fs which just has some file operations that we’ll use for creating the directory for our data.
// set up storage engine for Multer
const storage = multer.diskStorage({
  destination: function (req, file, cb) {
    cb(null, "data/");
  },
  filename: function (req, file, cb) {
    cb(null, file.originalname);
  },
});
As discussed before, we need to create a storage engine, and these can be of different types. This is the diskStorage type. We’ll save the file to the ./data directory and use the original filename it had on the user’s machine.
const upload = multer({ storage: storage });
This creates the upload handler with that storage engine we created in the previous step.
// create the 'data' directory if it doesn't exist
if (!fs.existsSync("./data")) {
  fs.mkdirSync("./data");
}
We’d get an error if multer tries to write to the directory we told it to when we created the storage engine and the directory did not exist. So we check for that here and create it if needed.
// handle the upload route
app.post("/upload", upload.single("file"), (req, res) => {
  if (!req.file) {
    return res.status(400).send("No file uploaded.");
  }
  res.send("File uploaded successfully.");
});
Here’s our route handler. Any POST requests to hrrp://127.0.0.1:3000/upload will be sent here. It passes off the file contained in the request to our Multer upload, and if that all works, it sends a message back to the browser.
HTML form
We need a way for the /upload route to be hit with the file data, and that’s done by submitting a form with the file data. Let’s edit out index.html to do that:
<!DOCTYPE html>
<html lang="en">
  <head>
    <meta charset="UTF-8" />
    <title>File Upload</title>
  </head>
  <body>
    <form action="/upload" method="post" enctype="multipart/form-data">
      <input type="file" name="file" id="file" />
      <input type="submit" value="Upload" />
    </form>
  </body>
</html>
That enctype of "multipart/form-data" is important. That’s what Multer wants to see. Apart from that, this is just a form with two buttons. The first one lets the user choose a file, and the second “Upload” button submits it.
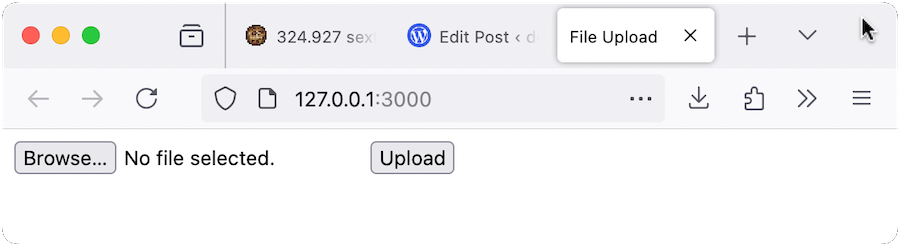
Clicking on the “Browse…” button will open the file selection dialog for your operating system. Once you’ve selected a file, the name will be shown.
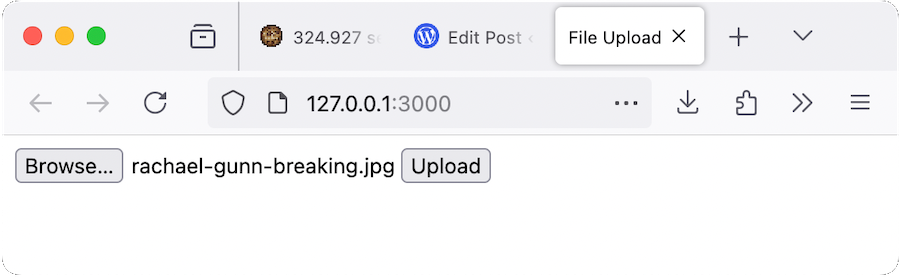
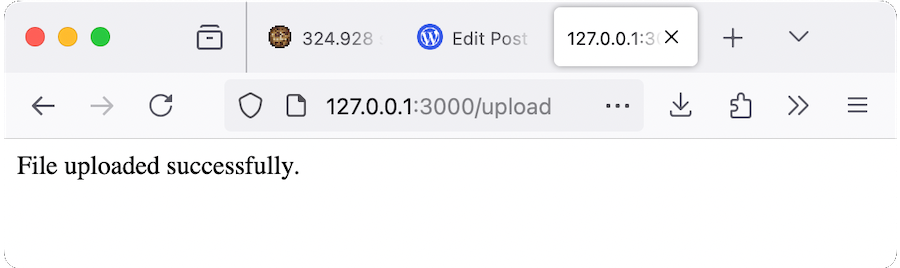
If we press the Upload button, that file will now be sent to the server, and should appear in the data directory.
Conclusion
This is about the simplest I think we can make this. As always there are a heap of other considerations when implementing this in a live app. For example, I feel uncomfortable using the user submitted file name - perhaps they could manipulate this to be something like ./../server.js and overwrite our source code. We should probably sanitize that, or just replace it with a name we generate. We also should be thinking about restricting the size and or type of files the user can upload, and gracefully handle the errors if we run out of space or some other disaster befalls our system.