Using NAS for Proxmox backups
10 Apr 2023
A few weeks ago , I was very excited to be able to take a snapshot of a virtual machine, copy it across the network from that Proxmox node, copy it back across the network to a different Proxmox node, start it there, and have it up and running, without it noticing it was actually on different hardware.
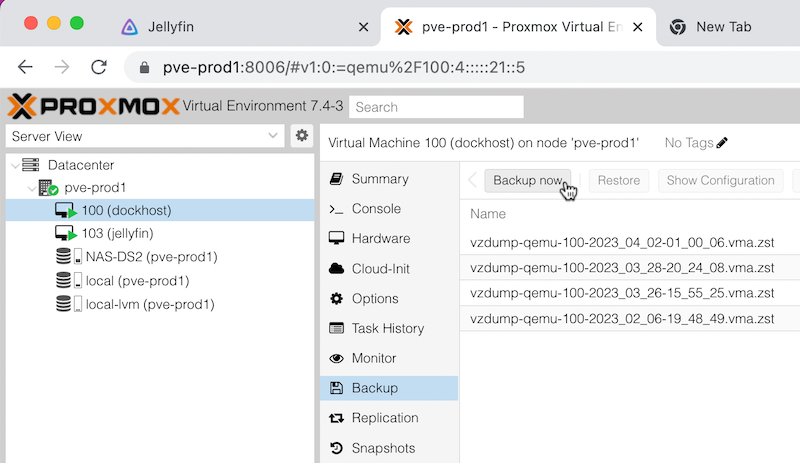
Backing up a VM is pretty simple, you just click on the node, choose Backup and click the Backup Now button. The ease, and completeness of backing up a VM is one of the main reasons I’m using Proxmox for my systems.
By default, VM backups are saved to the “local drive” - actually the /var/lib/vz directory. This would not be useful if the physical machine dies, but also it’s not convenient to restore to a different machine. Ideally you’d have a central place to store these files that was accessible to all the Proxmox nodes.
This is exactly the situation I’ve setup with my lab, the NAS is the storage for the VM backups. Each of the Proxmox nodes uses the same directory for backups, so moving a machine from one node to another is a simple as backing it up on one node, stopping the VM, and restoring it on another node just by choosing the backup file to restore in the web GUI.
Steps
Proxmox can use all sorts of shares as a location for backups (and other files such as the ISO’s used to boot new machines), but the simplest is probably NFS . This is also straightforward to do from the Synology NAS.
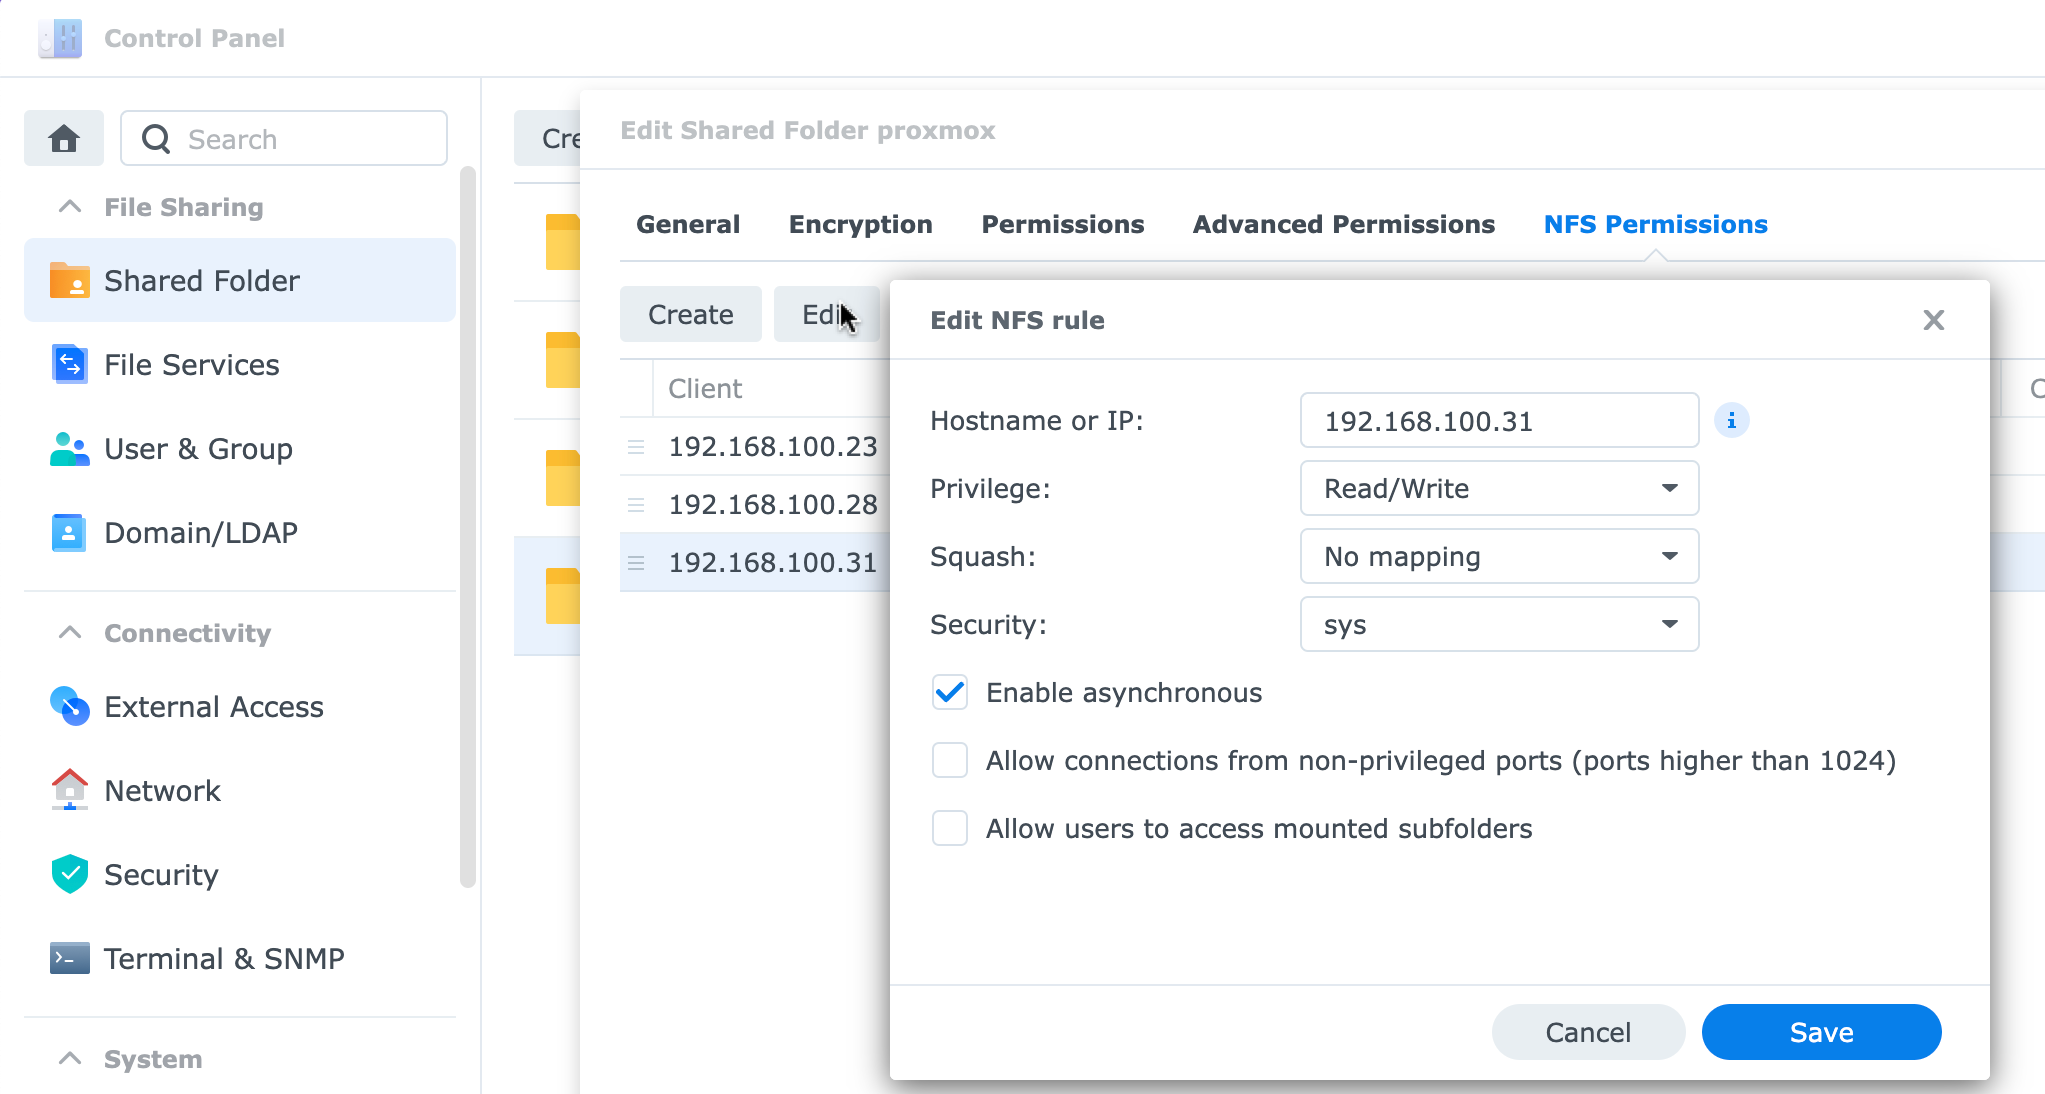
In the web interface for the NAS, go into Control Panel, Shared Folder and create a new shared folder. I called mine Proxmox. One of the tabs there is for NFS permissions - just add the IP address of the Proxmox node that you’d life to access the folder.
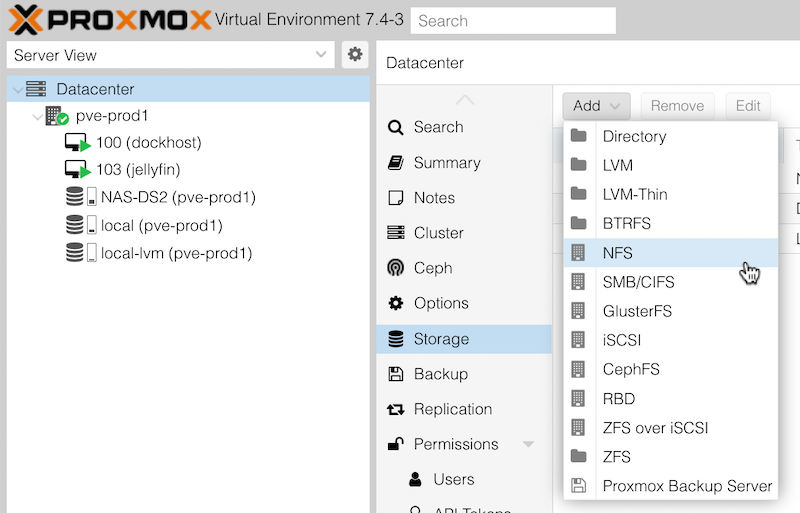
It’s not much harder from the Proxmox end. Although the storage you add will appear at the node level in the Server View of the web GUI, it is added at the Datacenter level.
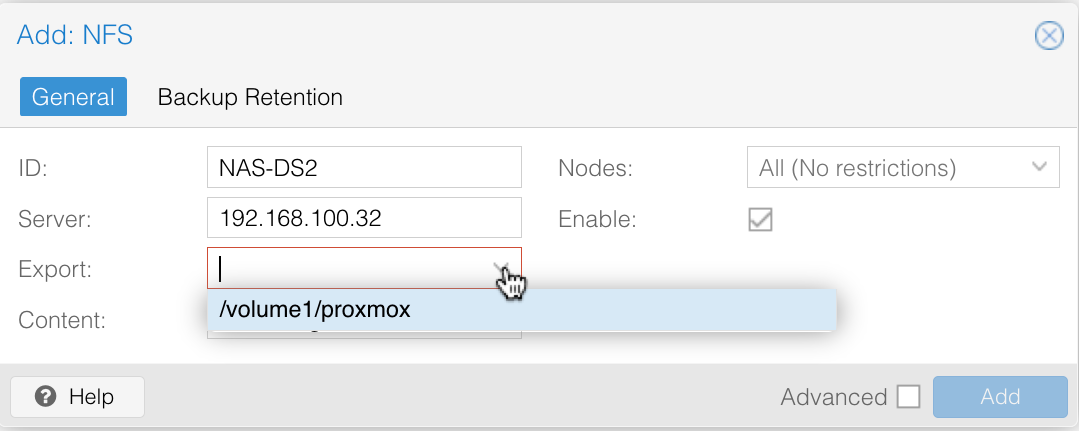
Go into Storage, select Add and choose NFS.
Then enter an ID (this will be the name of the storage in Proxmox) and the IP address. If you wait half a second, then you can click the dropdown for all the folders that are shared from that IP address.
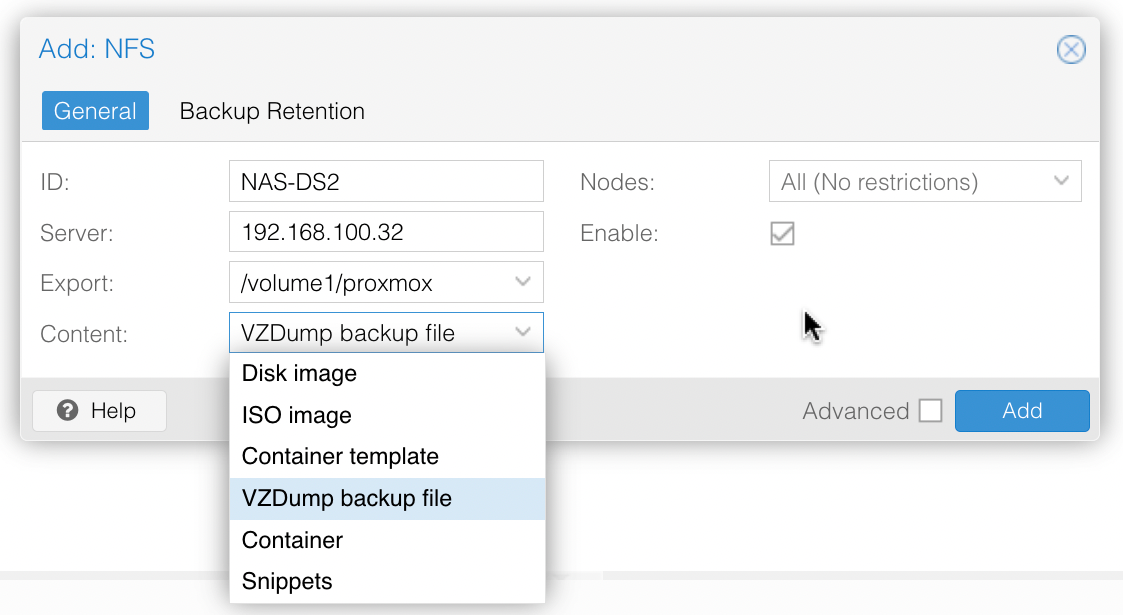
The last field is content - this refers the the type of Proxmox stuff you want to keep in there - for backups, you just need VZDumps, but I usually click on everything since I’ll also use it for ISOs for new VMs and templates for LXCs.
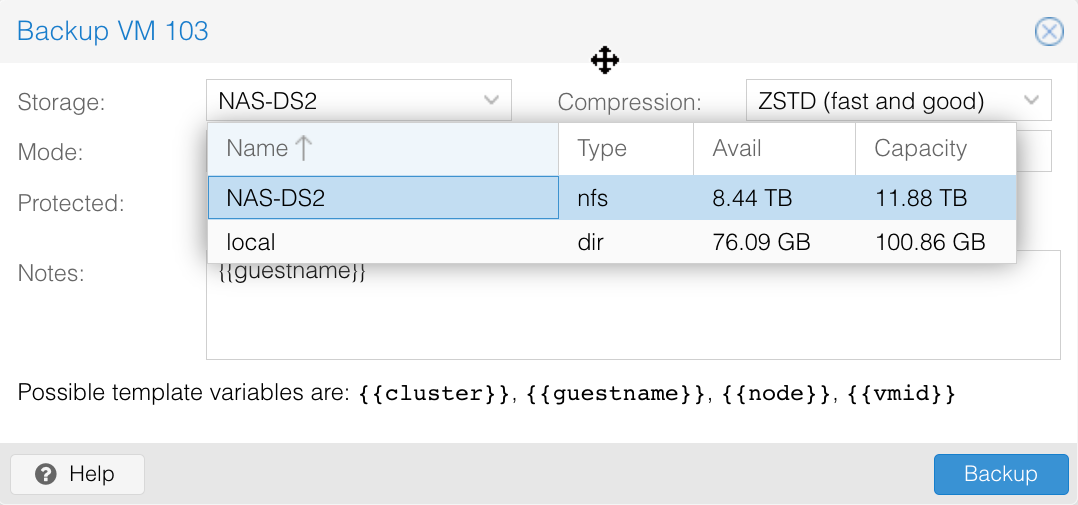
Once you’ve added that, the storage will appear in the server view, but also as an option when you go into Backup for a VM and select Backup Now.